The easiest mobility scooter controls are the ones you can use without pain, overreaching, or a hard grip. For many riders with arthritis, limited hand strength, or balance concerns, a scooter with an adjustable tiller, light-touch throttle, automatic braking, and clear speed dial is usually easier to manage than one with stiff levers or a long reach.
Most scooters use a tiller-mounted throttle for forward and reverse, an automatic electromagnetic brake that engages when you release the control, and a speed setting that limits how quickly the scooter can respond. The right fit depends on your hand function, sitting posture, reaction time, and where you plan to drive: tight indoor rooms, sidewalks, stores, ramps, or mixed surfaces.
How mobility scooter controls work in 60 seconds
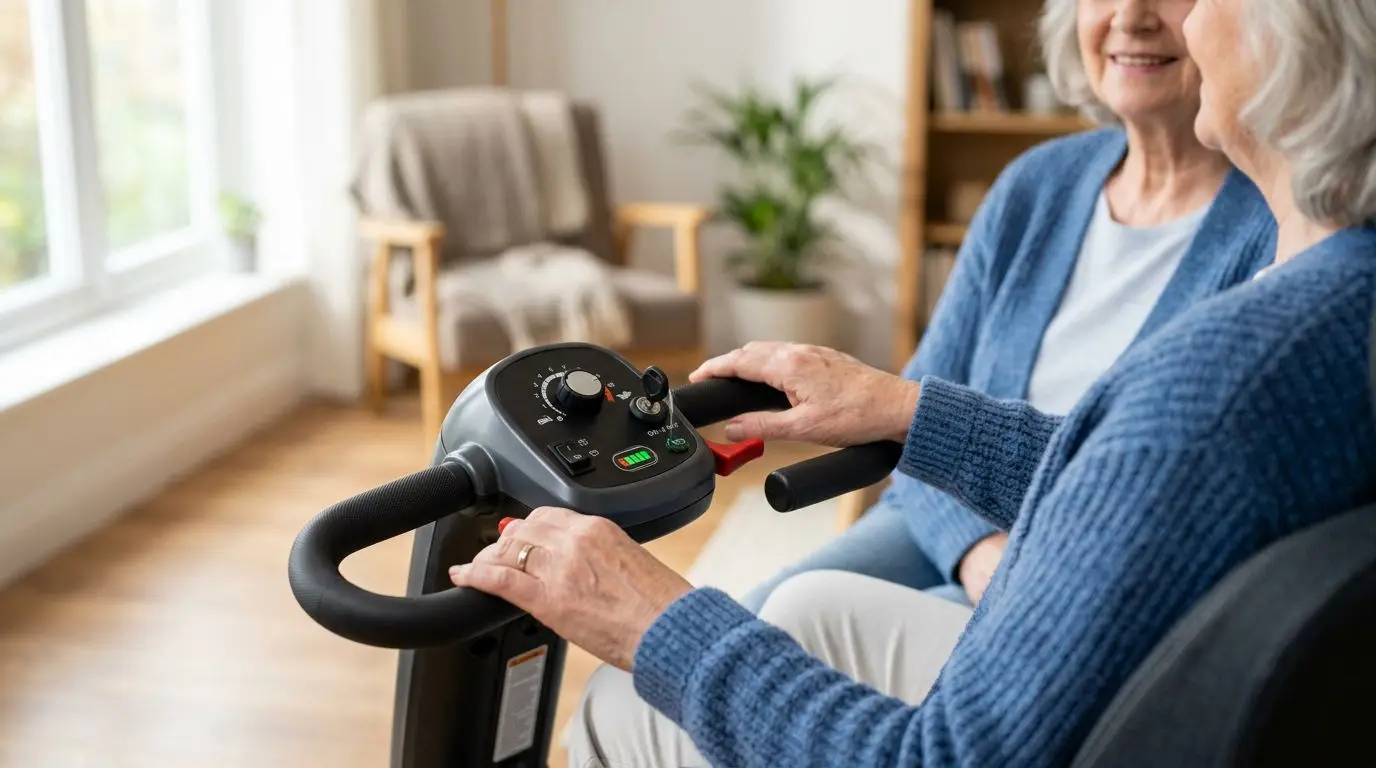
A mobility scooter is controlled mainly from the tiller, the upright steering column in front of the seat. On a typical 3-wheel or 4-wheel scooter, the tiller holds the throttle lever, speed dial or buttons, battery indicator, horn, lights if included, and sometimes a key switch or power button.
The throttle does not work like a car gas pedal. You usually press or pull a small lever with your thumb or fingers. Press more, and the scooter accelerates up to the speed limit you selected. Let go, and the scooter slows down; the automatic brake then holds it in place once it stops.
That release-to-stop design matters. It means the scooter is normally built to stop when the user is no longer actively applying the throttle. Still, stopping distance can vary with rider weight, slope, surface, tire condition, battery charge, and speed. A scooter moving at 4 mph needs more room to stop than one moving at 1 mph in a hallway.
For users with painful hands or slower reaction time, the goal is not maximum speed. It is predictable, low-effort control. Small details, such as a throttle that can be used by either hand or a speed dial with large markings, can make daily use noticeably easier.
Tiller fit and reach: aim for relaxed elbows, not stretched arms
The tiller position affects hand comfort, shoulder strain, steering control, and balance. A good starting point is to sit fully back in the seat with your feet supported, then adjust the tiller so your elbows stay slightly bent, often around a 90- to 110-degree angle. You should not have to lean forward to reach the throttle.
Many scooters have an angle-adjustable tiller. Some move through several fixed positions; others use a knob or latch for continuous adjustment. If you have shoulder arthritis, neck stiffness, or reduced trunk strength, this adjustability can matter as much as the throttle type.
Also consider tiller width. A narrow tiller may be easier in tight indoor spaces, while a wider handlebar-style tiller can feel more stable for some riders. The best choice is the one that lets you steer with small, comfortable movements instead of sharply twisting your wrists.
Signs the tiller is too far away
- You slide forward in the seat to reach the throttle.
- Your shoulders rise toward your ears while driving.
- You grip tightly because your arms feel unsupported.
- Your wrists bend upward or sideways for more than a few seconds.
- You feel less steady when turning or stopping.
If you are comparing scooters in person, spend at least 10 minutes seated and operating the controls at low speed. A control layout that feels acceptable for 30 seconds may become tiring after a full grocery trip.
Throttle types compared: thumb, finger, delta, and twist controls
Throttle design is one of the most important control choices for riders with hand pain. Most mobility scooters use a lever-based throttle rather than a twist grip, but the exact shape and pressure can vary. The key question is simple: can you start, slow, reverse, and hold a steady speed without pinching hard?
| Throttle type | How it works | Potential advantage | Watch-outs |
|---|---|---|---|
| Thumb lever | Press with one thumb to move forward or reverse, depending on side and setup | Simple layout; common on compact scooters | Can aggravate thumb arthritis or weak pinch strength |
| Finger lever | Pull or squeeze with fingers while the hand rests on the tiller | May reduce thumb strain; can feel natural for some users | May be harder with finger stiffness or reduced grip |
| Delta or wraparound tiller lever | A curved control can often be pushed or pulled from different hand positions | Often easier for one-handed operation or limited dexterity | Shape and resistance vary; must be tested in person if possible |
| Twist-style control | Rotates like a bicycle or motorcycle grip | Familiar to some riders | Can require wrist rotation; not ideal for many arthritis users |
A delta-style tiller or wraparound throttle is often worth considering when one hand is stronger than the other. Some riders can push with the palm side of the hand rather than relying on a small thumb joint. Others prefer a finger pull because it lets the thumb rest.
Ask whether the scooter allows forward and reverse from both sides of the tiller. Some designs let the right hand control forward and the left hand control reverse, or vice versa. Others are more flexible. This matters if one hand has had surgery, tremor, numbness, or reduced range of motion.
Throttle pressure should feel light but not twitchy. If the scooter jumps forward with a tiny touch, it may feel unsafe indoors. If the lever is stiff, your hand may tire after 5 to 15 minutes. A smooth, gradual response is usually better for comfort and confidence.
Braking systems: automatic stopping is standard, but feel matters
Most modern mobility scooters use an electromagnetic brake that engages automatically after the throttle is released and the scooter slows. In everyday terms, you release the lever, the motor reduces power, and the brake holds the scooter once it stops. This helps riders who cannot squeeze a hand brake strongly.
Some scooters also use regenerative braking, where the motor helps slow the scooter and returns a small amount of energy to the battery. You may not notice the energy recovery, but you will notice the braking feel. Some scooters slow gently; others feel more abrupt.
Automatic braking is not the same as instant stopping. At low indoor speeds, such as 1 to 2 mph, stops should feel controlled and predictable. At higher outdoor speeds, such as 5 to 8 mph on some full-size scooters, you need more space and more anticipation. Wet pavement, loose gravel, steep driveways, and worn tires can all lengthen stopping distance.
Brake features to understand before buying
- Automatic electromagnetic brake: Holds the scooter when stopped and power is engaged.
- Freewheel lever: Disengages the drive system so the scooter can be pushed manually; it must be re-engaged before riding.
- Manual parking brake: Less common on many scooters, but may appear on some designs as an added hold feature.
- Brake release warning: Some scooters alert the user if the scooter is in freewheel mode and cannot drive normally.
For people with balance concerns, braking smoothness is just as important as the braking system itself. A sudden stop can shift body weight forward. During a test ride, practice releasing the throttle gradually and abruptly at a slow speed to learn how the scooter responds.
Speed settings: low limits make indoor driving easier at 1 to 3 mph
Speed controls help tame the scooter. Many scooters include a dial marked with slower and faster symbols, often shown as turtle and rabbit icons. Others use buttons, preset modes, or a digital display. The purpose is the same: set the maximum speed so a full throttle press does not mean full scooter speed.
For indoor use, many riders are more comfortable around 1 to 3 mph, especially in kitchens, hallways, elevators, and stores. Outdoors, some scooters can travel around 4 to 8 mph, depending on scooter type and local rules or use setting. Higher speed is not always better; it can make turns wider and reaction time shorter.
| Setting or feature | Best use | Why it helps |
|---|---|---|
| Low-speed dial setting | Home, apartment buildings, stores | Reduces sudden acceleration in tight spaces |
| Mid-speed setting | Sidewalks, senior communities, smooth paths | Balances control and travel pace |
| High-speed setting | Open outdoor areas where allowed and safe | Covers distance faster but requires more stopping room |
| Acceleration adjustment | Users sensitive to jerky starts | Softens how quickly the scooter responds |
| Reverse speed limit | Backing out of elevators or tight rooms | Keeps reverse movement slow and manageable |
If you have arthritis or weak grip, a large, easy-to-turn speed dial may be better than tiny buttons. If vision is a concern, look for high-contrast markings and a clear pointer. You should be able to confirm the setting while seated without bending forward.
A practical habit is to start every trip on a low setting for the first 10 to 20 feet. Once you are clear of walls, furniture, or pedestrians, increase speed only if needed. This small routine prevents many startle moments.
Ease-of-use features for arthritis, weak grip, and limited dexterity
Hand comfort is not only about the throttle. The entire control area should reduce force, twisting, and fine motor demands. A rider with hand pain may be able to drive safely but still struggle with keys, charging ports, seat levers, baskets, or tiller adjustment knobs.
Look for controls that can be operated with the larger joints of the hand when possible. For example, a broad lever may be easier than a small button that requires fingertip pressure. A large tiller knob may be easier than a small ridged screw-style control.
| Usability feature | Why it matters | Helpful detail to check |
|---|---|---|
| Adjustable tiller | Reduces reaching and shoulder strain | Can it be moved while seated, or only before sitting? |
| Delta-style handle | Allows multiple hand positions | Can you rest the palm while pressing the throttle? |
| Large speed dial | Easier for stiff fingers and low vision | Can you turn it with light pressure? |
| Audible horn button | Helps alert others in stores or hallways | Is the button large and reachable? |
| Swivel seat lever | Helps transfers without twisting the body | Is the lever easy to find and release? |
| Charging port placement | Reduces bending and finger strain | Can you plug in the charger without kneeling? |
Key switches deserve attention. A traditional key can be difficult for users with numb fingers or tremor. Some scooters use simpler power buttons, but those can create their own issues if they are small, flush, or hard to see. Either way, test the power control at least 3 times, not just once.
Display complexity also matters. A basic battery gauge with 5 bars may be easier than a crowded screen with tiny symbols. If the scooter has lights, turn signals, or a hazard function, each control should be reachable without taking your hand completely off the tiller for long.
Balance and posture: 3 contact points can improve control
Good scooter control starts with stable sitting. Before you focus on throttle style, make sure the seat, armrests, and foot platform let you maintain at least 3 comfortable contact points: hips on the seat, feet supported, and at least one hand on the tiller or armrest.
Seat height affects this. If the seat is too high, your feet may not rest securely on the floorboard. If it is too low, your knees may rise sharply and make transfers harder. Some seats adjust in height by roughly 1-inch increments, though the exact range varies by scooter type.
Armrests can be a major help for balance. Width-adjustable armrests give the upper body a place to settle, while flip-up armrests can make side transfers easier. If you use a walker, cane, or grab bar during transfers, practice the full sequence: approach, stop, power down, swivel if available, lift the armrest, and stand.
Three-wheel scooters often have a tighter turning radius, which can help indoors. Four-wheel scooters usually feel more stable on uneven outdoor surfaces, though they may need more room to turn. Neither design is automatically best for every rider; the right choice depends on where balance feels most challenged.
Anti-tip wheels, low-speed settings, and stable seating can support confidence, but they do not replace safe driving habits. Avoid sharp turns at higher speeds. Slow before ramps. Keep both feet on the scooter while moving.
How to choose and measure controls at home in 15 minutes
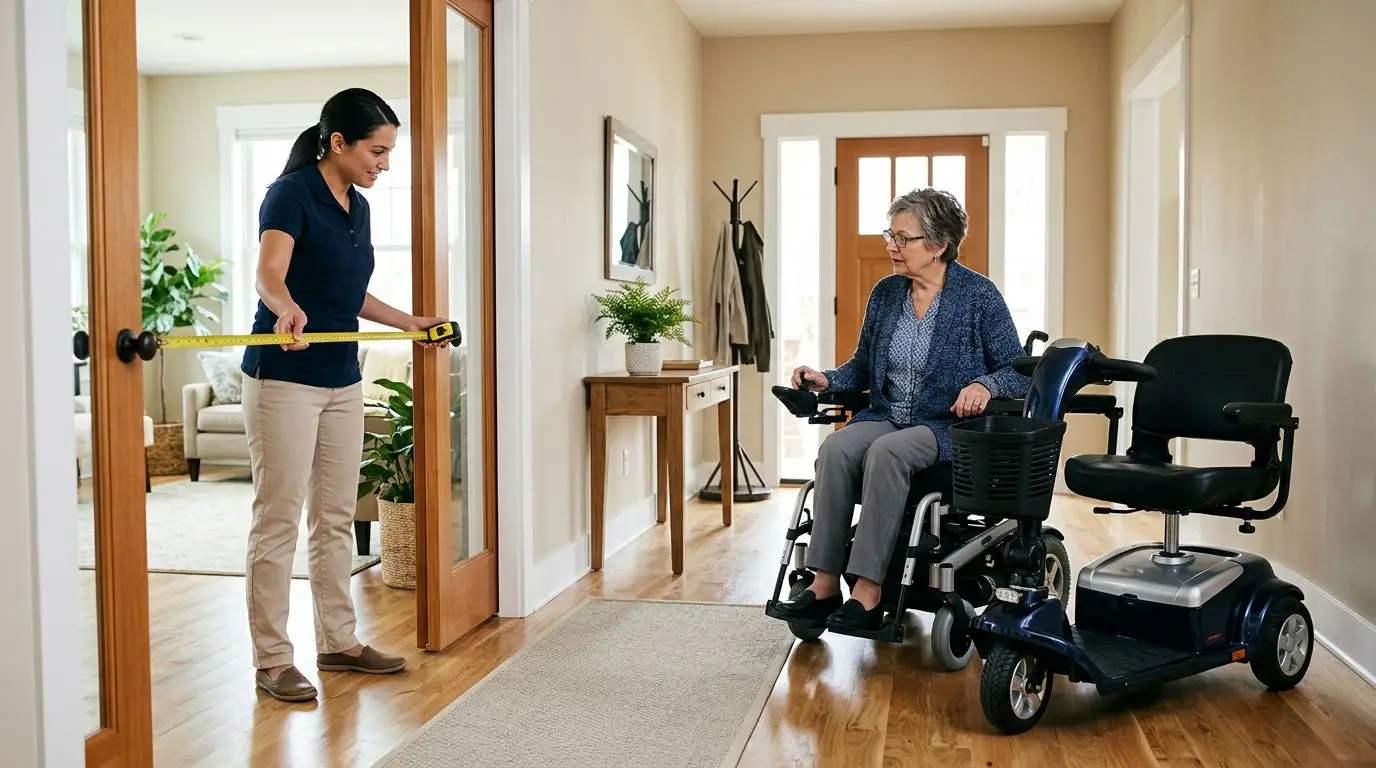
You can learn a lot before a test ride by measuring your body position and home layout. Use a tape measure, a chair with a similar seat height, and the shoes you normally wear outside. The goal is to identify reach, turning space, and control needs before you compare scooter types.
Step-by-step control fit check
- Measure seated reach: Sit upright with your back supported. Measure from your lower back to your relaxed hand position with elbows bent. This helps estimate comfortable tiller reach.
- Check doorway width: Many interior doorways are about 28 to 36 inches wide. Measure the narrowest doorway, not the easiest one.
- Map turning areas: Measure hallways, bathroom entries, kitchen corners, and elevator space. Tight turns matter more than straight paths.
- Test hand motion: Notice whether pushing with the thumb, pulling with fingers, or pressing with the palm feels best.
- Rate pain and fatigue: Hold a light pinch for 30 seconds. If it causes discomfort, prioritize broad or wraparound throttle designs.
- Plan charging access: Measure outlet height and distance. A charging cord that requires bending to the floor can be a daily frustration.
During an in-person trial, ask to start on the lowest speed setting. Drive forward 10 feet, stop, reverse 3 feet, turn left and right, and repeat. Then try the same sequence with the other hand. This simple test reveals more than a spec sheet.
If you work with an occupational therapist, physical therapist, or qualified mobility professional, bring your measurements and describe specific hand limitations. They can help match control demands to your abilities without making broad assumptions based only on age or diagnosis.
Who each control style is best for: 5 common user needs
There is no universal best scooter control. A rider with thumb arthritis may need a different setup than a rider with weak fingers, tremor, one-sided weakness, or balance concerns during turns. Match the control to the task your body finds hardest.
| User need | Controls to consider | Why it may help |
|---|---|---|
| Thumb arthritis | Finger lever, delta tiller, light-touch wraparound control | Reduces repeated thumb pressing |
| Weak grip | Broad lever, low throttle resistance, adjustable speed limit | Requires less sustained squeezing |
| One stronger hand | Ambidextrous throttle, wraparound tiller, reachable horn and speed dial | Allows more functions from the stronger side |
| Balance concerns | Smooth acceleration, automatic braking, supportive armrests, low-speed mode | Reduces sudden body shifts |
| Low vision or cognitive overload | Simple display, large labels, fewer buttons, clear battery gauge | Makes controls easier to understand at a glance |
For many people, the best choice is a scooter that feels almost boring during the first test. It starts gently, stops predictably, turns without drama, and does not make your hands work hard. That kind of control fit supports daily independence more than flashy features.
Safety practice and upkeep: a 5-minute routine helps controls stay predictable
Even well-fitted controls need practice. Spend 5 minutes in a clear area before regular use, especially if the scooter is new, recently serviced, or being driven after a long break. Practice starting, stopping, reversing, turning, and reducing speed before a doorway.
Make a short pre-ride check part of your routine. Confirm the battery has enough charge, the freewheel lever is in drive mode, the seat is locked, armrests are secure, and the speed dial is set low before you turn the scooter on. If the scooter has lights or a horn, test them before outdoor use.
Keep the tiller area clean and dry. Sticky residue around a throttle can affect feel. Water exposure can make surfaces slippery and may harm electronics, so avoid storing the scooter uncovered in wet conditions unless it is specifically rated and protected for that environment.
If braking suddenly feels delayed, the throttle sticks, the scooter creeps when you are not pressing the control, or the freewheel lever does not engage properly, stop using the scooter and arrange service. Those are control safety issues, not minor inconveniences.
FAQ: 5 control questions riders ask before choosing a scooter
What throttle is easiest for arthritis?
Many riders with arthritis prefer a delta-style or wraparound throttle because it can often be used with different parts of the hand rather than only the thumb. The easiest option depends on which joints are painful, so test thumb press, finger pull, and palm-assisted positions if possible.
Do mobility scooters brake automatically?
Most mobility scooters have automatic electromagnetic braking that engages when the throttle is released and the scooter comes to a stop. The scooter still needs stopping distance, especially at higher speeds, on slopes, or on wet or uneven surfaces.
Can I drive a scooter with one hand?
Some scooter control layouts are easier to operate with one hand, especially those with a delta tiller or ambidextrous throttle. You still need enough steering control, reaction time, and access to key functions such as speed adjustment and horn.
What speed setting should I use indoors?
A low setting is usually best indoors. Many riders feel more comfortable around 1 to 3 mph in homes, stores, elevators, and hallways because it allows more time to react and reduces sudden acceleration.
Are 3-wheel or 4-wheel scooters easier to control?
Three-wheel scooters often turn in less space, which can help indoors. Four-wheel scooters may feel steadier on outdoor surfaces. Control ease depends on the full setup: tiller reach, seat support, throttle style, speed settings, and where you drive most.
Frequently asked questions
What throttle is easiest for arthritis? +
Many riders with arthritis prefer a delta-style or wraparound throttle because it can often be used with different parts of the hand rather than only the thumb. The easiest option depends on which joints are painful, so test thumb press, finger pull, and palm-assisted positions if possible.
Do mobility scooters brake automatically? +
Most mobility scooters have automatic electromagnetic braking that engages when the throttle is released and the scooter comes to a stop. The scooter still needs stopping distance, especially at higher speeds, on slopes, or on wet or uneven surfaces.
Can I drive a scooter with one hand? +
Some scooter control layouts are easier to operate with one hand, especially those with a delta tiller or ambidextrous throttle. You still need enough steering control, reaction time, and access to key functions such as speed adjustment and horn.
What speed setting should I use indoors? +
A low setting is usually best indoors. Many riders feel more comfortable around 1 to 3 mph in homes, stores, elevators, and hallways because it allows more time to react and reduces sudden acceleration.
Are 3-wheel or 4-wheel scooters easier to control? +
Three-wheel scooters often turn in less space, which can help indoors. Four-wheel scooters may feel steadier on outdoor surfaces. Control ease depends on the full setup: tiller reach, seat support, throttle style, speed settings, and where you drive most.
Related guides
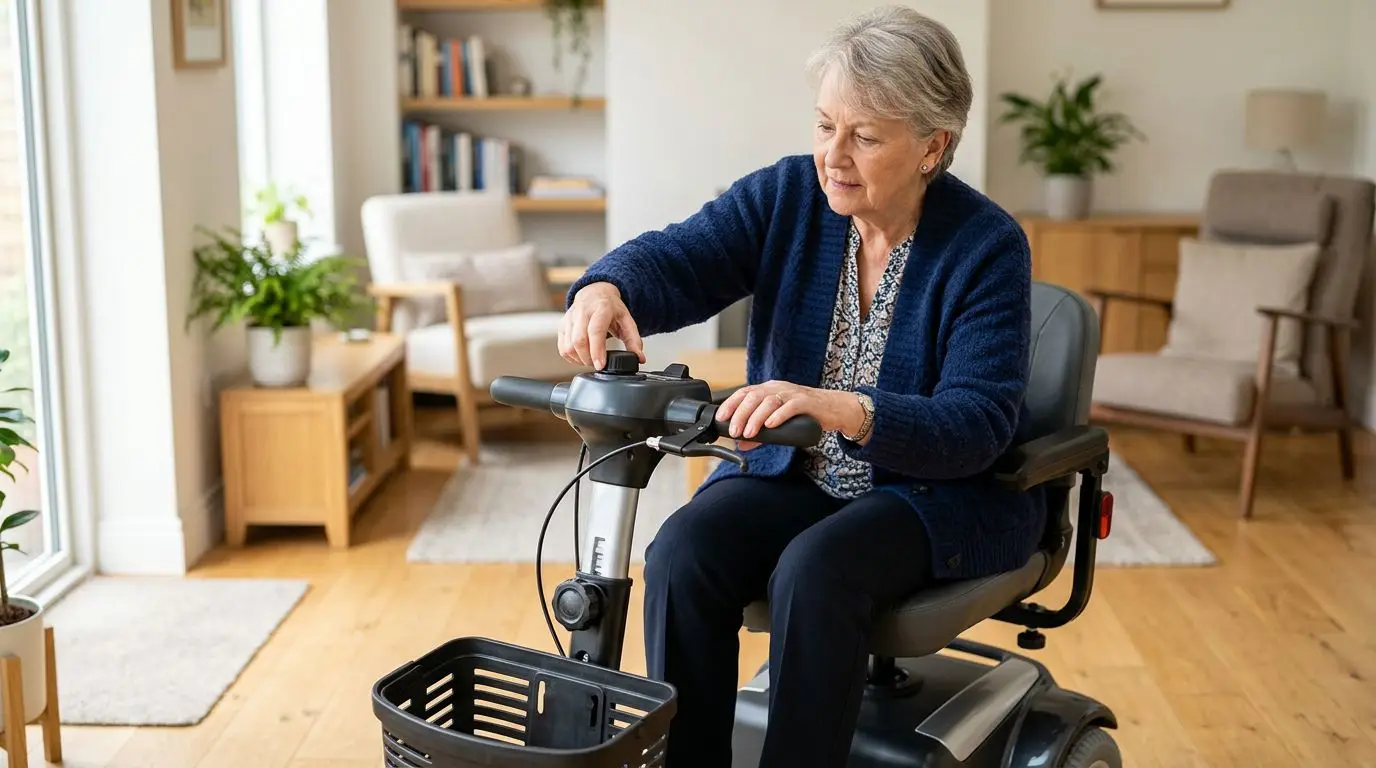
Mobility Scooter Controls and Tiller Fit: What to Check for Arthritis, Weak Grip, or Limited Reach
14 min read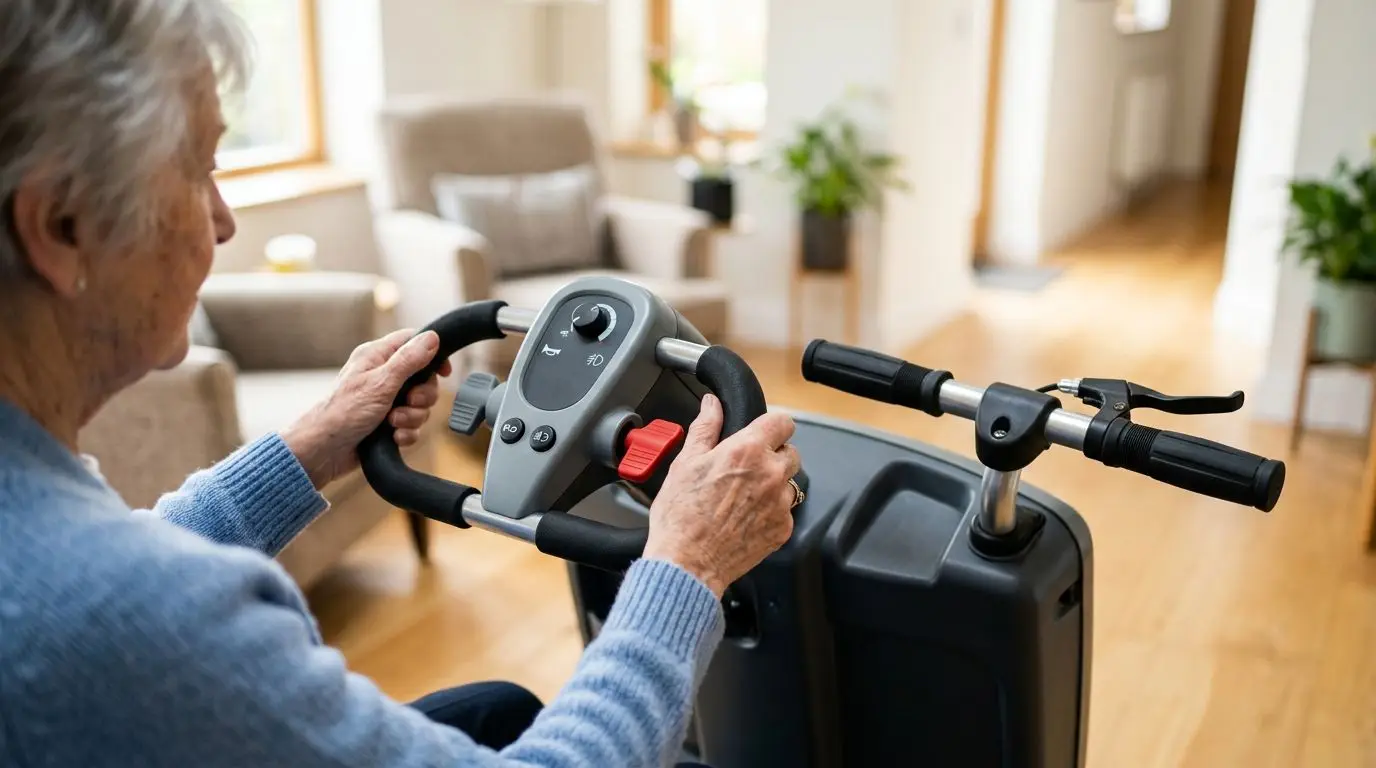
Delta Tiller vs. Standard Scooter Handles: Steering Comfort, Grip Strength, and Control Differences
12 min read
Mobility Scooter Speed and Braking Safety: Choosing the Right Speed for Stores, Sidewalks, and Crowds
12 min read