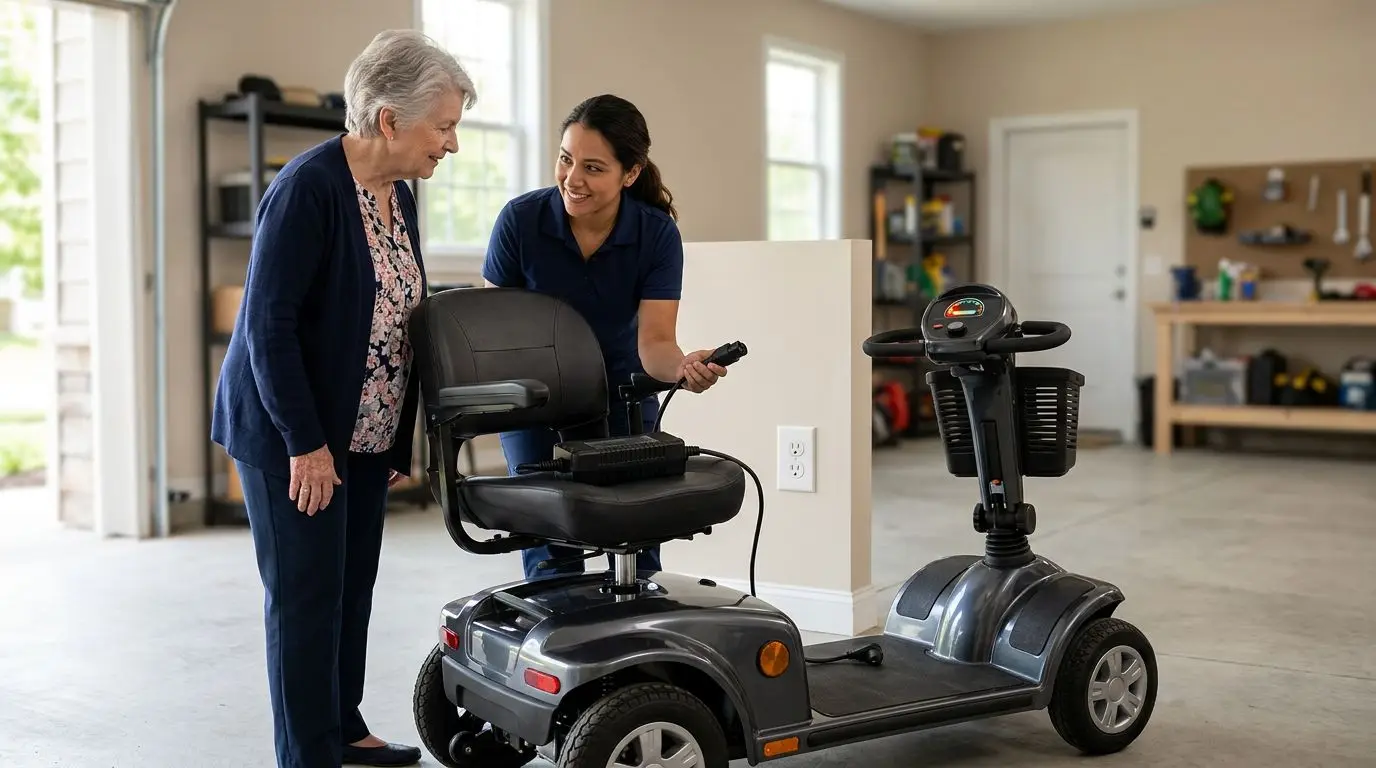
If your mobility scooter charger is not working, begin with the simple checks: make sure the wall outlet has power, inspect the charger cord and scooter charging port, and confirm the charger lights match the normal pattern in your owner’s manual. Most charging problems come from a loose connection, a tripped outlet, an old battery pack, or a charger that no longer produces the correct voltage.
Do not open a charger case, bypass a fuse, or use a mismatched charger to “test” the scooter. If you smell burning, see swelling, find melted plastic, or the battery still will not charge after basic checks, stop and seek qualified repair service.
Start with 5 safety checks before you plug anything in
A mobility scooter charging system usually includes a 120-volt household outlet, a charger, a scooter charging port, and a battery pack inside the scooter or battery box. That is enough electricity to cause shock, burns, or damage if it is handled carelessly.
Before troubleshooting, park the scooter on a dry, level surface with the key turned off. If the scooter has a freewheel lever, make sure it is in drive mode so the scooter cannot roll unexpectedly. Keep the charger away from rugs, blankets, paper, and other heat-trapping surfaces while it is plugged in.
- Unplug before inspecting. Check the cord, plug, and charging port only after the charger is disconnected from the wall.
- Check for heat. A charger may feel warm after 2 to 4 hours of charging, but it should not be too hot to touch.
- Watch for battery damage. Swelling, leaking, hissing, a rotten-egg smell, or corrosion around terminals means you should stop using the battery pack.
- Do not mix chargers. A 24-volt scooter needs a charger made for a 24-volt system, and lithium batteries need a lithium-compatible charger.
- Avoid extension cords when possible. If one must be used temporarily, it should be heavy-duty, undamaged, and fully uncoiled.
One simple rule helps: if the problem looks electrical rather than mechanical, do less, not more. You can check the outlet and visible connections. You should not repair internal charger boards, replace cells inside a sealed battery, or defeat safety cutoffs.
Understand the 3 most common charger light patterns
Most mobility scooter chargers use 1 or 2 indicator lights. The exact colors vary, but many chargers show one light for wall power and another for charging status. Your manual is the final authority, but these common patterns can help you narrow down the problem.
| Light pattern | Common meaning | What to check next |
|---|---|---|
| No lights at all | No AC power, bad wall outlet, blown charger fuse, or failed charger | Test a different outlet, inspect the cord, check any external fuse if listed in the manual |
| Power light on, charging light red or amber | Charger sees the battery and is charging | Allow a full cycle, often 6 to 12 hours depending on battery size and discharge level |
| Green light immediately after plugging in | Battery may be full, not connected, deeply discharged, or unable to accept charge | Check the charging port connection, battery age, and voltage if you can measure safely |
A green light is not always good news. If the scooter was just used for several miles and the charger turns green within 1 or 2 minutes, the charger may not be reaching the battery. A loose charging port, broken wire, worn battery connector, or failed battery can all cause that symptom.
Flashing lights are more difficult to interpret. Some chargers flash during normal startup for 5 to 30 seconds. Others flash to report a fault such as reverse polarity, high temperature, battery not detected, or wrong battery voltage. If the flashing continues, unplug the charger and look up the pattern before trying again.
Check the wall outlet in 2 minutes
A surprising number of charging issues begin at the wall, especially in garages, porches, laundry rooms, and bathrooms where GFCI-protected outlets are common. In the United States, a standard outlet should provide about 120 volts AC, but you do not need a meter for the first check.
Plug in a lamp, phone charger, or another small device you know works. If it does not turn on, check whether the outlet is controlled by a wall switch. Then look for a tripped GFCI button on the same outlet or another nearby outlet. Press reset once, then test again.
- Try a second outlet in a different room.
- Avoid outlets with scorch marks, loose plugs, buzzing, or cracking sounds.
- Do not charge from a power strip that is overloaded with heaters, tools, or appliances.
- If a breaker trips repeatedly, stop and call an electrician.
If the charger lights work in one outlet but not another, the scooter is probably not the issue. Use a reliable outlet and have the suspect outlet repaired before using it again.
Inspect 4 connection points on the charger and scooter
Charging depends on clean, firm contact in several places. One loose plug can make the charger look dead or turn green too soon. Take 3 to 5 minutes and inspect each connection in good light.
| Connection point | What to look for | Safe action |
|---|---|---|
| Wall plug | Bent prongs, cracked housing, loose fit | Do not use if damaged; replace the charger cord if it is detachable and approved |
| Charger brick or box | Rattling, melted plastic, burnt smell, damaged fan vents | Stop using it and seek replacement or repair guidance |
| Output cord | Cuts, pinches, exposed copper, sharp bends near the connector | Do not tape over exposed wire; replace the charger |
| Scooter charging port | Dust, bent pins, looseness, corrosion, plug not seating fully | Clean gently when unplugged; do not force a connector |
Many scooter charging ports use a 3-pin round connector, while some battery boxes use different plug shapes. The connector should slide in smoothly and sit firmly. If you have to wiggle it to make the light change, the port or plug may be worn.
Do not spray household cleaner into the charging port. If there is dust, use a dry soft brush or compressed air held a few inches away. If you see green or white corrosion, a technician should inspect the port and wiring because corrosion can increase resistance and heat.
Give the battery a full 6 to 12 hour charge test
If the charger turns on and shows a normal charging light, let it complete a full cycle. Many scooter battery packs need 6 to 12 hours to recharge after regular use, and larger capacity batteries can take longer. Interrupting the cycle after 30 minutes may not tell you much.
Charge in a ventilated, dry area at a comfortable room temperature, roughly 50°F to 85°F when possible. Very cold or very hot conditions can slow charging or trigger a charger safety shutoff. Keep the scooter key off while charging unless your manual says otherwise.
After the charger shows full, disconnect it and let the scooter sit for 10 to 20 minutes. Then turn the scooter on and check the battery gauge. A dash gauge is not a precision tool, but it should not drop from full to low immediately while the scooter is sitting still.
- If the scooter runs normally after a full charge, the issue may have been a loose connection or partial charge.
- If the charger never leaves red or amber after 12 to 16 hours, the battery may be weak or the charger may not be finishing properly.
- If the charger goes green almost instantly and the scooter still has no power, suspect a connection, charger output, or battery pack problem.
Do not leave a questionable charger connected for days while hoping it will recover the battery. Smart chargers are designed to reduce current when full, but a damaged charger or battery should not be treated as normal.
Know when battery age is the real issue after 1 to 3 years
A charger can only do its job if the battery can accept and hold a charge. Many mobility scooters use sealed lead-acid batteries, often two 12-volt batteries wired together for a 24-volt system. Some newer scooters use lithium battery packs, which have different charging requirements and safety electronics.
Battery life varies widely with use, storage, temperature, terrain, rider weight, and charging habits. As a general pattern, lead-acid scooter batteries are commonly replaced after about 1 to 3 years. Lithium packs may last longer in many cases, but they still wear out and can fail early if abused or stored empty.
| Battery symptom | Likely meaning | Best next step |
|---|---|---|
| Gauge drops quickly under load | Battery capacity is reduced | Have the pack load-tested |
| Charger stays on for many hours but range is poor | Battery may charge to voltage but not hold usable energy | Consider professional battery testing |
| Scooter sat unused for 2 to 6 months | Deep discharge may have damaged the battery | Do not force-charge; have it checked |
| One battery in a pair is older than the other | Uneven charging and poor performance can occur | Replace matched pairs when required |
For lead-acid systems, replacing only one weak battery in a two-battery pack is often a false economy because the old and new batteries may not charge and discharge evenly. For lithium packs, do not open the battery case or replace individual cells yourself. The battery management system is part of the safety design.
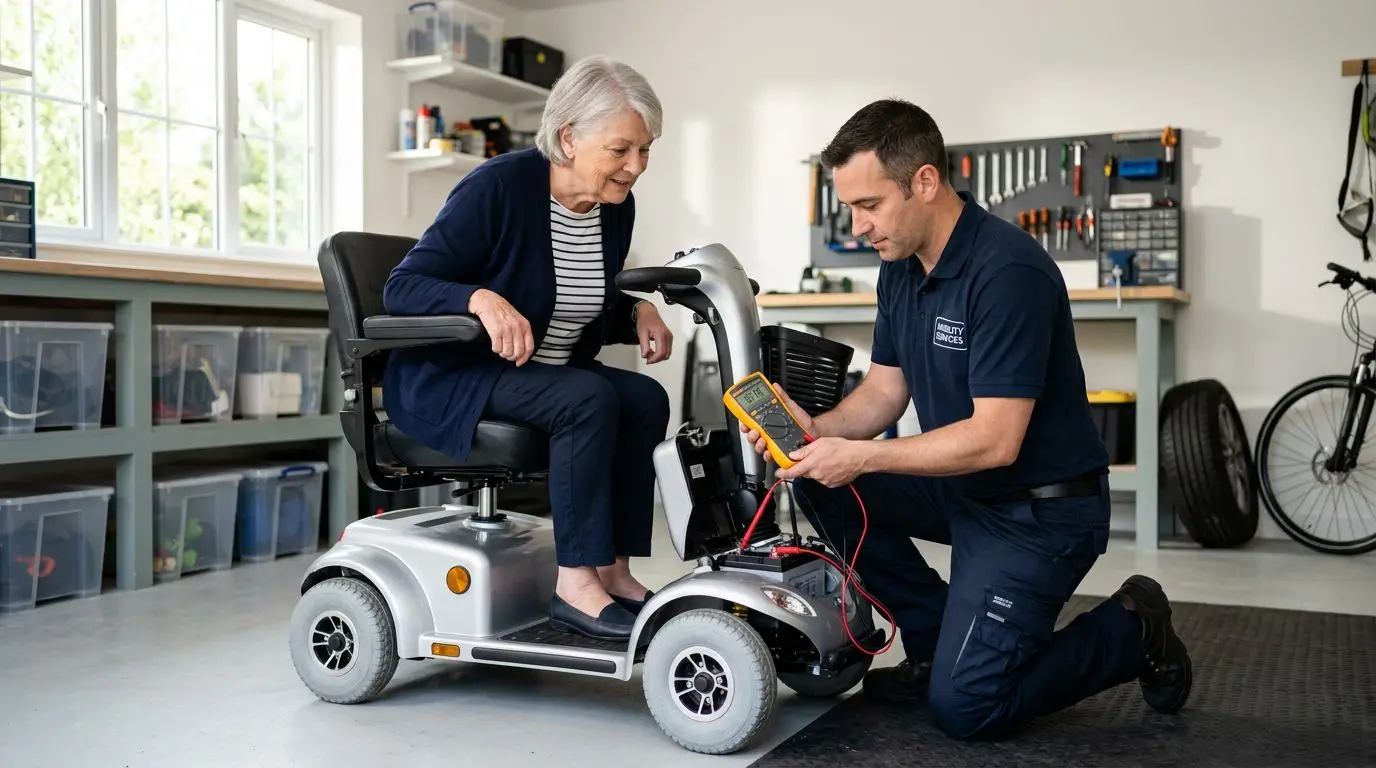
Use a multimeter only if you can measure 24 volts safely
A basic multimeter can help separate a bad charger from a bad battery, but only if you are comfortable using it and can reach the correct test points without shorting anything. Many scooters are 24-volt systems, but some are 36-volt or 48-volt. Always verify your scooter’s voltage before testing or buying a charger.
For a 24-volt lead-acid scooter pack, a fully charged resting voltage is commonly above 25 volts, while the charger output during charging is often around 28 to 29 volts. These are general ranges, not a promise for every scooter. Lithium systems use different voltage ranges, so do not apply lead-acid assumptions to lithium packs.
Basic multimeter checks
- Set the meter to DC volts for battery and charger output checks.
- Keep the red and black probes from touching each other while connected.
- Measure only at accessible terminals or connectors described in the manual.
- If you are unsure which pin is positive, stop and get help.
If a charger has a power light but shows no DC output at the correct connector pins, the charger may have failed. Some smart chargers will not show normal output unless connected to a battery, so a no-load reading can be misleading. That is why a repair shop may test the charger under load.
If the battery pack voltage is extremely low, the charger may refuse to start for safety reasons. This can happen after long storage. Do not jump-start a scooter battery with a car charger unless the scooter manufacturer specifically allows that equipment and procedure.
Compare charger, battery, and scooter faults in 6 common scenarios
Charging problems can feel confusing because the same symptom may have more than one cause. Use this comparison as a practical triage guide. It will not replace testing, but it can point you in the right direction.
| What you see | Most likely area | What to do |
|---|---|---|
| No charger lights in any outlet | Charger or charger cord | Inspect cord, test another outlet, replace or service charger if still dead |
| Charger works on another scooter battery | Your scooter battery or port | Inspect charging port and have battery tested |
| Scooter runs but will not charge | Charging port, fuse, wiring, or charger | Check visible port damage and seek service for internal wiring |
| Charger gets very hot or smells burnt | Charger fault or overload | Unplug immediately and stop using it |
| Battery gauge says full but scooter dies quickly | Weak battery under load | Request a load test rather than relying on the dash gauge |
| Lights flash every time charging starts | Fault code, battery mismatch, or temperature issue | Check manual light code and allow temperature to normalize |
If you have access to another compatible charger with the exact same voltage, battery chemistry, connector polarity, and output rating, a controlled swap can be useful. If any of those details do not match, do not try it. The wrong charger can damage batteries or create a fire risk.
Who should troubleshoot at home, and who should call for repair within 24 hours
Some checks are safe for most owners or caregivers. Others belong with a mobility equipment technician, battery specialist, or electrician. A good boundary is this: if the check requires opening a sealed case, cutting wire, bypassing a fuse, or guessing at polarity, it is not a home troubleshooting step.
| Best handled at home | Best handled by a repair professional |
|---|---|
| Testing a wall outlet with a lamp | Replacing internal scooter wiring |
| Inspecting visible charger cords and plugs | Repairing a loose charging port |
| Cleaning dust from an unplugged port | Testing charger output under load |
| Allowing a normal 6 to 12 hour charge cycle | Diagnosing battery management electronics |
| Checking whether a GFCI outlet tripped | Handling swollen, leaking, or overheated batteries |
Call for repair promptly if the scooter is your primary way to move around at home, reach the bathroom, or leave during an emergency. Charging uncertainty can become a safety issue when it leaves you stranded. If you depend on the scooter daily, consider arranging service after the first failed full charge rather than waiting a week.
Also seek help if you notice repeated breaker trips, sparks, melted connectors, battery odor, or a charger fan that no longer runs when it normally did before. Those signs deserve attention before the scooter is used again.
How to choose a replacement charger by matching 5 specs
If testing points to a failed charger, replacement is not just a matter of finding a plug that fits. At minimum, you need to match 5 specifications: system voltage, battery chemistry, connector type, connector polarity, and output current. A typical scooter may use a 24-volt charger, but typical is not enough.
| Specification | Why it matters | Where to find it |
|---|---|---|
| Voltage | Wrong voltage can undercharge or damage the battery | Scooter label, battery label, manual, old charger label |
| Battery chemistry | Lead-acid and lithium use different charging profiles | Battery case label or manual |
| Connector type | The plug must fit securely without force | Compare pin count, shape, and size |
| Polarity | Incorrect polarity can damage electronics | Manual or wiring diagram; do not guess |
| Output current | Too low may charge slowly; too high may be unsafe if not approved | Charger label, manual, technician guidance |
Output current is usually listed in amps. For example, a small travel scooter may use a lower-amp charger than a larger scooter with bigger batteries. Faster is not automatically better. The battery pack and charging circuit must be designed for the current supplied.
If the original label is unreadable, take clear photos of the scooter charging port, battery labels, and any charger labels you have. A technician or reputable mobility repair provider can usually identify the correct charger from those details without guessing.
How to measure charging habits and prevent repeat problems over 30 days
Once the scooter is charging again, track your routine for 30 days. Write down how long you charge, how far you ride, whether hills or ramps are involved, and when the gauge starts dropping. A simple paper note can show whether you have a charger problem, a usage pattern issue, or a battery nearing the end of its service life.
- Charge after regular use instead of waiting for the battery to be fully drained.
- For storage, check the manual; many batteries should be recharged periodically, often about once a month.
- Store the scooter and battery in a dry area, away from freezing temperatures and high heat.
- Keep the charging port covered if your scooter has a cap.
- Do not ride until the battery is completely flat if you can avoid it.
If your normal trip is 2 miles on flat indoor surfaces, your charging needs will be different from someone riding 6 miles outdoors with curb cuts and inclines. Rider weight, tire pressure, carpet, ramps, and stop-and-go use all affect energy demand. That is why range estimates should be treated as general guidance, not a guarantee.
A healthy charging routine supports independence, but it should not replace safety planning. If you travel alone, keep a phone with you and avoid starting a longer trip when the battery gauge is already low.
FAQ: 5 quick answers about scooter charging problems
Why is my mobility scooter charger light green but the scooter is dead?
The battery may already be full, but if the scooter is dead, the charger may not be seeing the battery. Common causes include a loose charging port, a broken wire, a deeply discharged battery, or a battery pack that can no longer accept charge.
Can I use a different charger if the plug fits?
No. The plug fitting is only one requirement. The charger must also match the scooter voltage, battery chemistry, polarity, connector type, and approved output current.
How long should a mobility scooter take to charge?
Many scooters take about 6 to 12 hours after normal use. Larger batteries, colder temperatures, and deeply discharged packs can take longer, while a nearly full battery may finish sooner.
Is it safe to leave the scooter charging overnight?
Many smart chargers are designed for overnight charging when the charger and battery are in good condition and used as directed. Do not leave it charging unattended if you notice heat, odor, damaged cords, swelling, or repeated fault lights.
When should I replace the battery instead of the charger?
Consider battery testing or replacement if the charger appears to run normally but the scooter has poor range, the gauge drops quickly under load, or the battery pack is several years old. A load test is more useful than the dash gauge alone.
Frequently asked questions
Why is my mobility scooter charger light green but the scooter is dead? +
The battery may already be full, but if the scooter is dead, the charger may not be seeing the battery. Common causes include a loose charging port, a broken wire, a deeply discharged battery, or a battery pack that can no longer accept charge.
Can I use a different charger if the plug fits? +
No. The plug fitting is only one requirement. The charger must also match the scooter voltage, battery chemistry, polarity, connector type, and approved output current.
How long should a mobility scooter take to charge? +
Many scooters take about 6 to 12 hours after normal use. Larger batteries, colder temperatures, and deeply discharged packs can take longer, while a nearly full battery may finish sooner.
Is it safe to leave the scooter charging overnight? +
Many smart chargers are designed for overnight charging when the charger and battery are in good condition and used as directed. Do not leave it charging unattended if you notice heat, odor, damaged cords, swelling, or repeated fault lights.
When should I replace the battery instead of the charger? +
Consider battery testing or replacement if the charger appears to run normally but the scooter has poor range, the gauge drops quickly under load, or the battery pack is several years old. A load test is more useful than the dash gauge alone.
Related guides
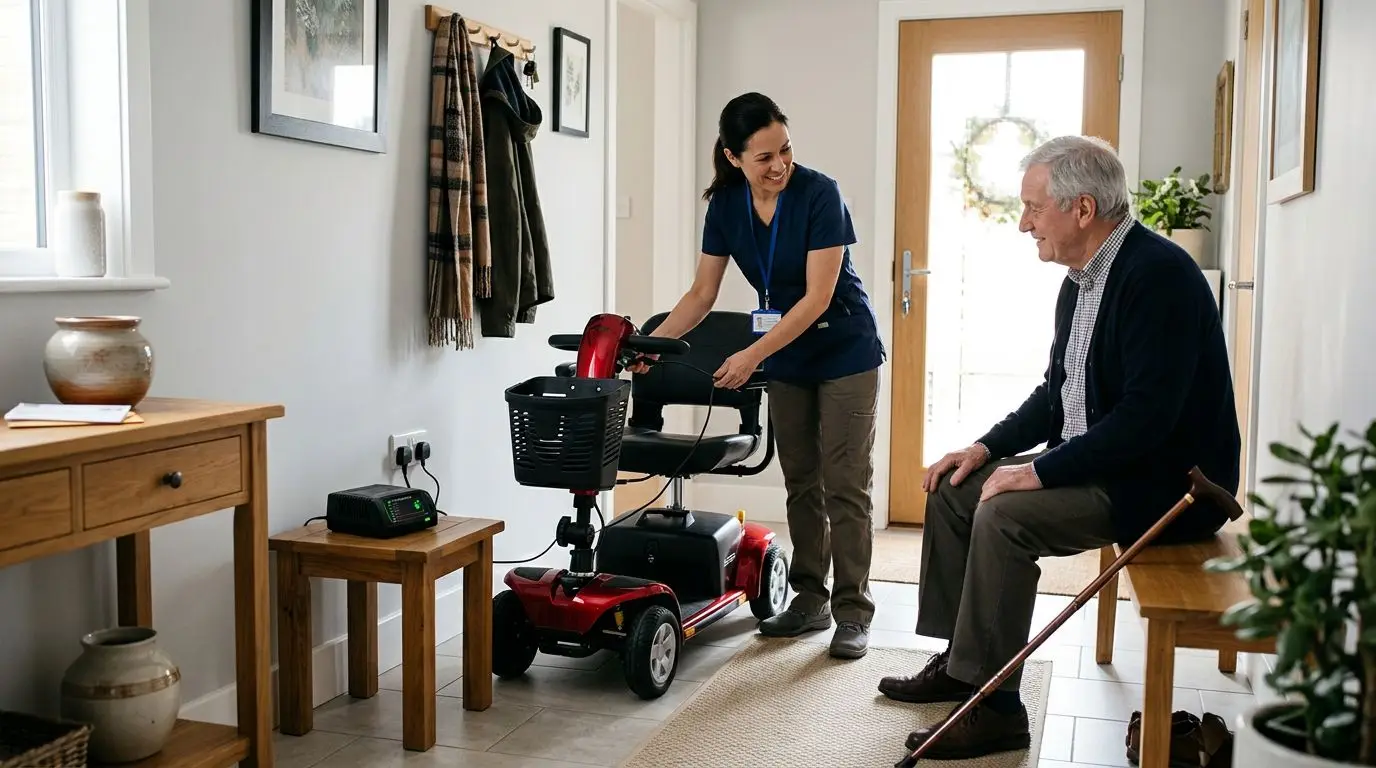
How to Charge a Mobility Scooter Battery the Right Way: Daily Use, Overcharging Myths, and Battery-Life Tips
16 min read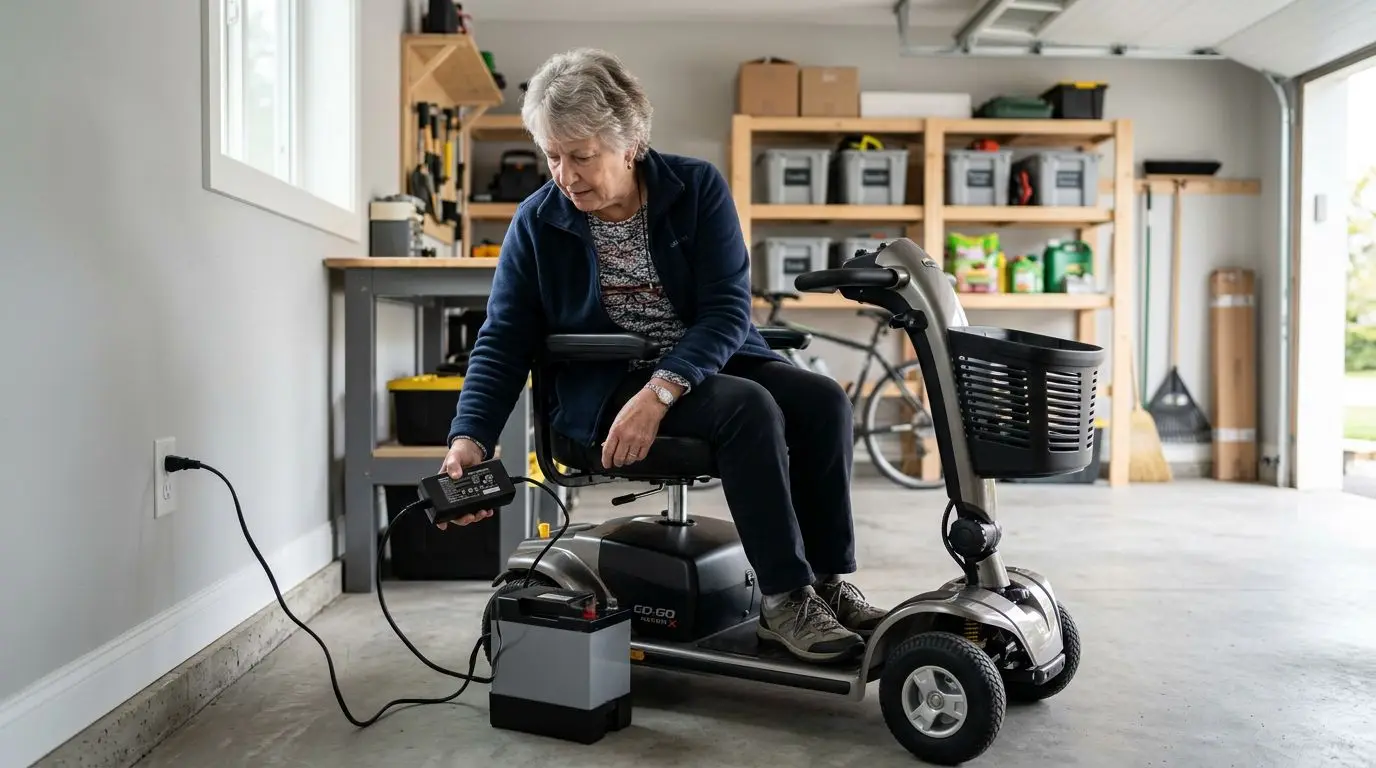
Mobility Scooter Battery Chargers Explained: Voltage, Amps, Plug Types, and Safe Charging
13 min read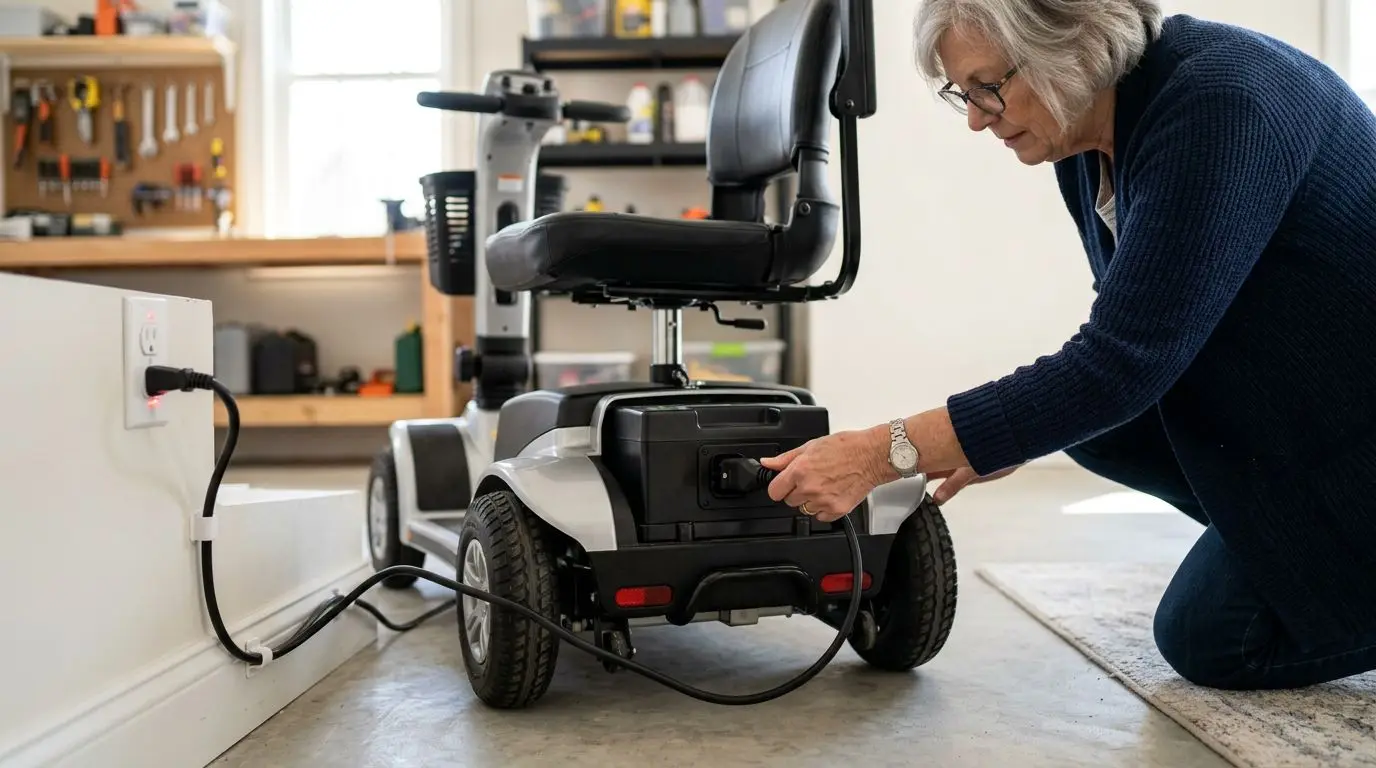
Mobility Scooter Batteries and Chargers: Range, Replacement Cost, and Care Tips
14 min read