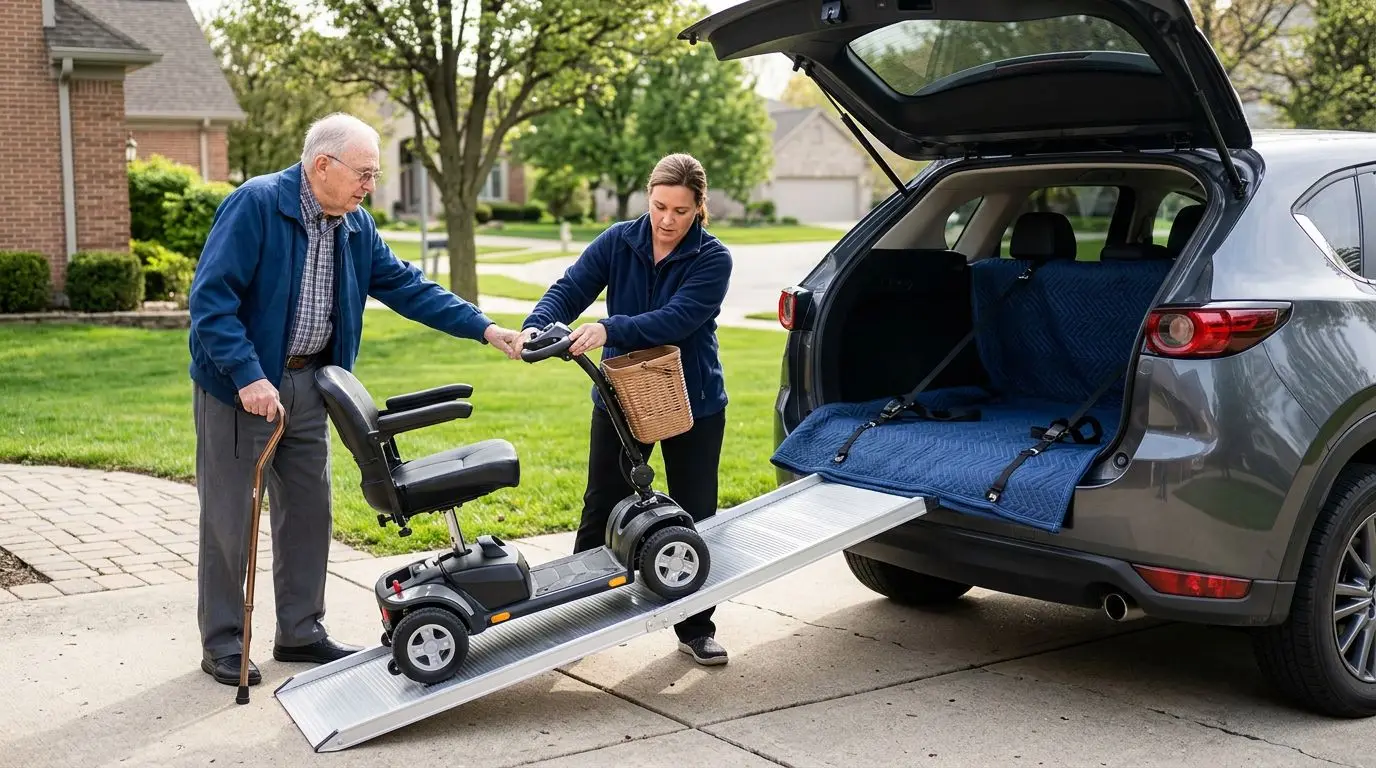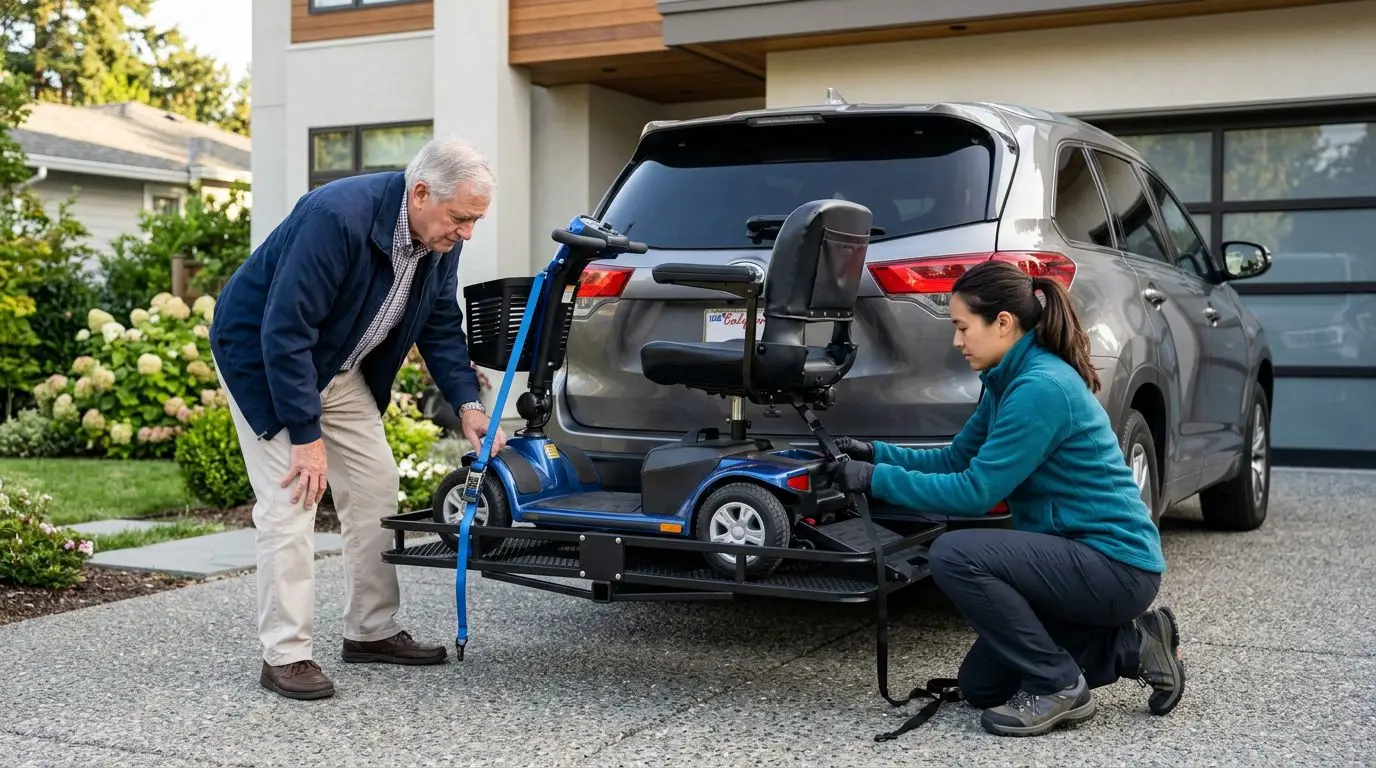
Before you buy a mobility scooter hitch carrier, confirm four things: your vehicle can handle the loaded weight, your hitch receiver matches the carrier, the ramp and platform fit your scooter, and the setup leaves a safe margin below every rated limit. The safest choice is the one that stays within the lowest rating in the chain: vehicle, hitch, carrier, ramp, and scooter. If any number is unclear, check the vehicle owner’s manual or ask a qualified hitch installer before you purchase.
A hitch carrier can be a practical way to transport a mobility scooter without loading it inside a vehicle. It is also easy to overestimate what a car, small SUV, or light-duty hitch can safely carry. The checks below will help you compare hitch carriers, ramp carriers, and rear haulers in a brand-neutral way, using measurements you can take at home in about 20 minutes.
Quick 4-number compatibility check before shopping
Start with four numbers: the scooter weight, the carrier weight, the hitch tongue weight rating, and the vehicle tongue weight or maximum rear load rating. The combined scooter-plus-carrier weight must be under the lowest applicable rating, not just under the carrier’s advertised capacity.
- Scooter weight: Use the total weight with batteries installed unless the battery is always removed for transport.
- Carrier weight: Many rear hitch carriers are heavy enough that their own weight matters, so do not ignore it.
- Hitch rating: Check the label on the hitch or the installation paperwork for tongue weight.
- Vehicle rating: Look in the owner’s manual for maximum tongue weight, payload, gross vehicle weight rating, and towing notes.
The key rule is simple: use the lowest limit. If the hitch label says 500 lb tongue weight, the carrier says 500 lb load capacity, but the vehicle manual limits tongue weight to 300 lb, your working limit is 300 lb before you account for the carrier itself.
Vehicle and hitch fit: 1.25-inch vs 2-inch receivers
Most mobility scooter hitch carriers are designed for a square receiver opening, commonly either 1.25 inches or 2 inches. The 2-inch receiver is more common for heavier carriers, larger scooters, and vehicles with higher tongue weight ratings. By contrast, 1.25-inch receivers are often found on smaller cars and lighter-duty hitches.
Do not assume receiver size tells the whole story. A 2-inch opening does not automatically mean your vehicle can carry a heavy scooter at the back. The receiver size only tells you whether the carrier shank may physically fit. The rating tells you whether the setup is allowed to carry the load.
| Item to check | Where to find it | Why it matters |
|---|---|---|
| Receiver opening | Measure inside edge to inside edge: often 1.25 in or 2 in | Carrier shank must match or be properly adapted |
| Hitch tongue weight | Hitch label, manual, or installer paperwork | Limits vertical weight on the hitch |
| Vehicle tongue weight | Owner’s manual towing section | May be lower than the hitch hardware rating |
| Ground clearance | Measure from ground to bottom of receiver | Affects driveway scraping and ramp angle |
Use caution with adapters. An adapter may let a 2-inch carrier fit a 1.25-inch receiver, or extend the carrier farther from the bumper, but adapters and extensions can reduce usable tongue weight because they increase leverage. If an adapter is needed, verify the reduced rating in writing before relying on it.
Weight math: carrier plus scooter, with a 10% to 15% margin
The most common buying mistake is comparing scooter weight only with carrier capacity. You must add the carrier weight to the scooter weight because both are supported by the hitch. A reasonable safety margin is to stay at least 10% to 15% under the lowest listed limit, especially if you drive on uneven roads, steep driveways, or long highway trips.
Use this simple formula:
Loaded hitch weight = scooter weight + carrier weight + accessories left on the scooter
Accessories matter. A rear basket, oxygen holder, weather cover, cane holder, larger batteries, or seat upgrade may add weight. If you remove the scooter seat and battery every time you travel, you may subtract those items only if that is your consistent routine and the scooter can be secured safely without them.
| Example calculation | Weight |
|---|---|
| Scooter with batteries | 185 lb |
| Hitch carrier | 85 lb |
| Basket and small accessories | 10 lb |
| Total loaded hitch weight | 280 lb |
| Recommended 15% margin above load | About 322 lb minimum rating |
In that example, a vehicle or hitch limited to 300 lb tongue weight would be technically close and may not leave enough practical margin. A setup rated above 322 lb by both the vehicle and hitch would be more comfortable, assuming all other limits are met.
Also check vehicle payload. Payload includes passengers, cargo, fuel in some rating systems, the hitch carrier, the scooter, and anything else in the vehicle. A rear-mounted load can also change handling by adding weight behind the axle, so braking distance, steering feel, and headlight aim may change.
Ramp and platform fit: measure within 1 inch
A carrier can have plenty of weight capacity and still be the wrong fit if the platform is too short, too narrow, or the ramp is too steep. Measure the scooter at its widest and longest points, then compare those numbers with the usable platform size, not the outside dimensions of the carrier frame.
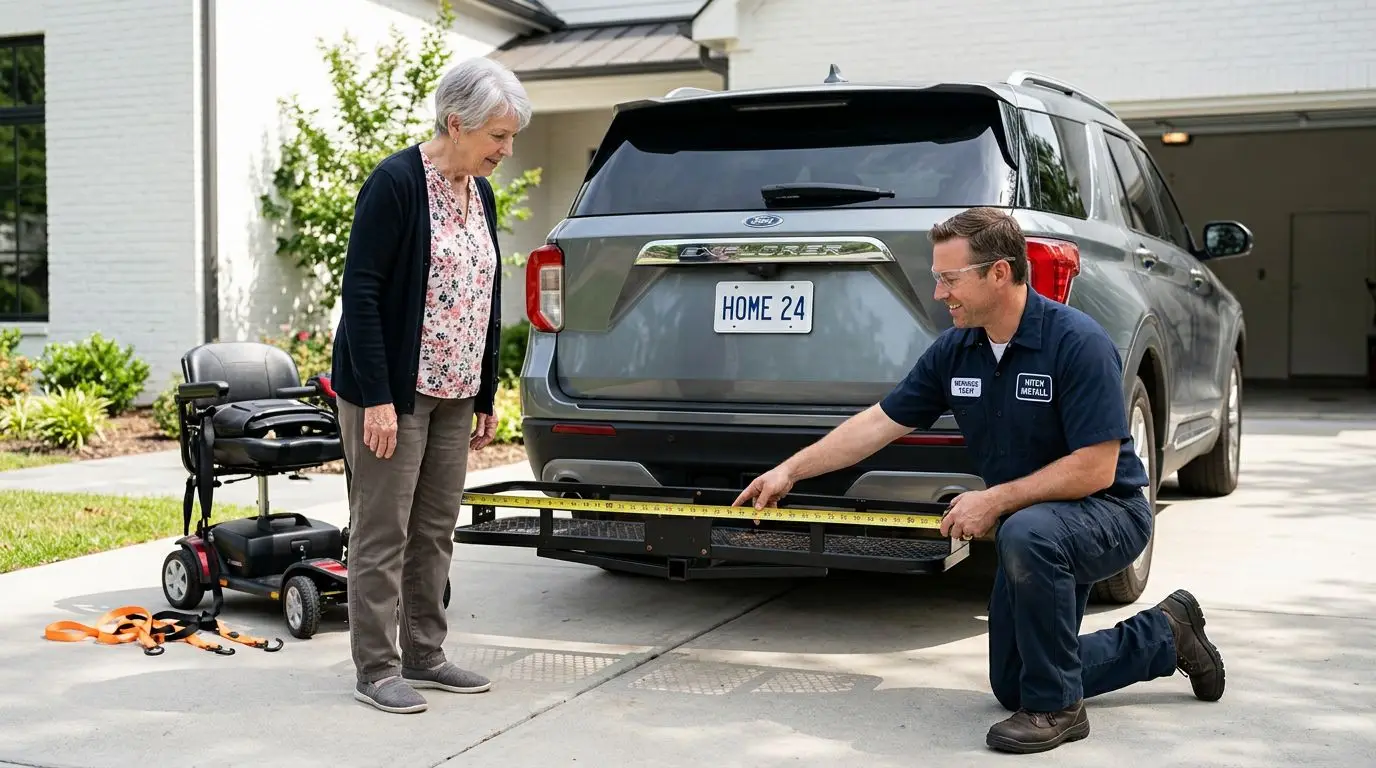
Take these measurements with a tape measure:
- Overall scooter length: From the front tire or bumper to the rear-most point.
- Overall width: Usually at the rear wheels, armrests, or body panels.
- Wheelbase and tire track: Measure tire-to-tire contact points to confirm the wheels sit fully on the deck.
- Lowest ground clearance: Helps predict whether the scooter may bottom out while loading.
- Ramp width: The ramp must support the tires without forcing awkward steering.
Leave at least 1 inch of extra platform width on each side if possible. More room is better for straight loading, especially for users with limited grip strength or slower reaction time. If the platform barely fits the scooter, tie-down points may be hard to reach.
Ramp length affects ramp angle. A short ramp on a tall vehicle can feel steep, making loading harder and increasing the chance of scraping the scooter’s underside. For example, a ramp that works well on a low minivan receiver may feel much steeper on a tall SUV receiver that sits several inches higher off the ground.
Carrier types compared: 3 common rear-hauler designs
Most shoppers compare three broad styles: manual ramp carriers, folding ramp carriers, and powered lift-style carriers. The best choice depends on scooter weight, vehicle height, storage space, and how much physical effort the user or caregiver can manage.
| Carrier type | How it works | Best fit | Watch-outs |
|---|---|---|---|
| Manual ramp carrier | Scooter is driven or pushed up a ramp onto a fixed platform | Users with a lighter scooter and a vehicle with moderate receiver height | Ramp angle, physical effort, and secure tie-down technique |
| Folding ramp carrier | Ramp folds upright for travel or storage | Drivers who want a shorter rear profile when the scooter is unloaded | May block rear hatch or camera; folding parts need regular inspection |
| Powered lift-style carrier | Platform raises and lowers using an electric mechanism | Heavier scooters or users who should avoid pushing up a ramp | Electrical connection, added weight, and higher vehicle compatibility demands |
Manual ramps are simple, but simple does not always mean easy. A 200 lb scooter on a steep ramp can be difficult to control if it is pushed by hand. If the scooter is driven up the ramp, the user must be able to line up straight, keep speed low, and stop accurately on the platform.
Powered lifts reduce loading effort, but they still count against tongue weight and payload. They may also require a vehicle electrical connection and careful positioning so the platform clears the bumper. Treat the lift weight as part of the load every time you run the numbers.
Who it’s best for: 4 practical buyer profiles
A hitch carrier is best for someone whose vehicle, hitch, scooter, and loading routine all match. It is not only a purchase decision; it is a daily-use decision that affects every appointment, grocery trip, and family visit where the scooter comes along.
Best fit: users with a compatible SUV, van, or truck
Vehicles with a properly rated 2-inch receiver and adequate payload are often better candidates than compact sedans. That said, rating still matters more than body style. Some smaller SUVs have modest tongue weight limits, while some vans and trucks have more rear-load capacity.
Best fit: users who can manage a 3- to 5-minute loading routine
Loading should feel controlled, not rushed. If it takes 3 to 5 minutes to load the scooter, attach straps, check lights and license plate visibility, and do a walkaround, that is normal. If the process requires straining, guessing, or balancing the scooter by hand, the carrier may not be the right style.
Best fit: caregivers who need exterior transport
A hitch carrier can keep the vehicle interior open for passengers, groceries, luggage, or medical equipment. It can also avoid the lifting required to place a scooter into a trunk. The caregiver still needs to be comfortable with ramps, straps, locks, and periodic hardware checks.
Not ideal: vehicles already near payload limits
If the vehicle is often full of passengers or cargo, adding a rear carrier may push it close to its limits. A family trip with 4 adults, luggage, and a scooter carrier is a different weight situation than a solo drive to a medical appointment.
How to choose and measure in 20 minutes
You can rule out many poor-fit carriers before you visit a store or installer. Set aside about 20 minutes, use a tape measure, and write the numbers in one place so you can compare carrier specifications accurately.
- Step 1: Measure the receiver opening. Measure the inside width and height of the square hitch receiver. Confirm whether it is 1.25 inches or 2 inches.
- Step 2: Find the ratings. Record hitch tongue weight, vehicle tongue weight, payload, and gross vehicle weight rating from the manual or labels.
- Step 3: Weigh or verify the scooter. Use the owner’s manual, manufacturer documentation, or a scale. Include batteries unless they will be removed every trip.
- Step 4: Measure scooter length and width. Include bumpers, anti-tip wheels, baskets, and the widest part of the tires or body.
- Step 5: Measure receiver height. Measure from level ground to the bottom inside edge of the receiver. This helps predict ramp steepness and ground clearance.
- Step 6: Check rear access. Open the hatch or trunk and note whether a carrier or upright ramp would block it.
- Step 7: Check lights and plate visibility. Many states require a visible license plate and unobstructed lights. A rear carrier can block both.
If you are comparing two carriers, do not focus only on the highest advertised capacity. Compare usable deck size, ramp length, tie-down locations, empty carrier weight, folding clearance, anti-rattle hardware, and whether the carrier sits level on your vehicle.
Feature comparison: 6 details that matter on the road
Small features can make a large difference after the carrier is installed. A scooter that is secure in the driveway still needs to remain secure through turns, bumps, rain, and highway wind.
| Feature | Why it matters | What to check |
|---|---|---|
| Tie-down points | Hold the scooter against movement | At least 4 practical anchor points are helpful |
| Ramp surface | Affects traction in wet conditions | Look for a textured or open-grid surface |
| Raised side rails | Help guide wheels and reduce edge risk | Confirm they do not interfere with low scooter parts |
| Anti-rattle device | Reduces carrier movement in the receiver | Check compatibility with your hitch size |
| Fold-up position | Saves space when unloaded | Measure bumper and hatch clearance |
| Lighting option | Helps when vehicle lights are blocked | Confirm wiring and local plate rules |
Tie-downs deserve special attention. Use straps rated for the job, attach them to solid scooter frame points when available, and avoid fragile plastic body panels. The scooter’s parking brake or freewheel lever is not a substitute for proper tie-downs.
5-minute safety check before every trip
Once a carrier is installed, build a short routine before driving. A 5-minute inspection can catch common problems such as a loose hitch pin, twisted strap, low ramp latch, or blocked brake light.
- Confirm the hitch pin is inserted fully and secured with its clip or lock.
- Check that the carrier sits level and does not wobble excessively.
- Verify the ramp is latched or pinned in the travel position.
- Use at least 4 tie-down points when the carrier design allows it.
- Push gently on the scooter from several directions to check for movement.
- Make sure the scooter is powered off and the key is removed.
- Confirm lights, turn signals, and license plate visibility.
- Check that the rear hatch, exhaust outlet, and parking sensors are not creating a problem.
After the first few miles, stop in a safe place and recheck the straps. New straps can settle, and scooter tires may shift slightly on the deck. This is especially useful after the first trip with a new carrier or after changing the scooter setup.
When the numbers do not work: 3 alternatives
If your vehicle, hitch, or scooter weight does not fit safely, do not try to force the setup. There are at least 3 practical alternatives, and one may be safer and easier than a rear hitch carrier.
- Interior vehicle lift: A lift may load the scooter into a cargo area, which can reduce rear overhang but requires enough interior space and suitable vehicle structure.
- Small trailer: A trailer places weight on its own axle, though it still requires towing capacity, storage space, and comfort with backing up.
- Portable or travel scooter: A lighter scooter that disassembles into several pieces may fit inside a vehicle, but lifting individual parts can still be difficult.
For some users, the best answer is a different vehicle setup rather than a different carrier. If you are close to weight limits, have a very low car, or need to carry passengers and cargo at the same time, ask a mobility equipment dealer, hitch installer, or vehicle upfitter to review the numbers.
FAQ: 5 common hitch carrier questions
Can any vehicle use a mobility scooter hitch carrier?
No. The vehicle needs a compatible hitch receiver, adequate tongue weight rating, enough payload capacity, and sufficient rear clearance. Some small cars and low-clearance vehicles are poor candidates, even if a hitch can be installed.
Do I count the carrier weight in the tongue weight?
Yes. Tongue weight includes the carrier, scooter, batteries, accessories, straps, and anything else supported by the hitch. Always add the carrier’s own weight to the scooter weight.
Is a 2-inch hitch always strong enough?
No. A 2-inch receiver is only the physical size. You still need to check the hitch rating and the vehicle’s rating, then use the lower number.
Can I drive the scooter up the ramp?
Sometimes, but only if the carrier instructions allow it and the user can control the scooter safely at a very low speed. Steep ramps, wet surfaces, and narrow platforms increase risk. Many users prefer caregiver assistance or a powered lift-style carrier for heavier scooters.
Will a hitch carrier block my backup camera or license plate?
It may. Rear carriers can block cameras, parking sensors, tail lights, or the license plate. Check visibility with the carrier loaded, and review state requirements for plate and lighting visibility.
How much extra capacity should I leave?
Aim to stay at least 10% to 15% below the lowest rated limit when possible. More margin is helpful for rough roads, steep driveways, and heavier scooters.
Frequently asked questions
Can any vehicle use a mobility scooter hitch carrier? +
No. The vehicle needs a compatible hitch receiver, adequate tongue weight rating, enough payload capacity, and sufficient rear clearance. Some small cars and low-clearance vehicles are poor candidates, even if a hitch can be installed.
Do I count the carrier weight in the tongue weight? +
Yes. Tongue weight includes the carrier, scooter, batteries, accessories, straps, and anything else supported by the hitch. Always add the carrier’s own weight to the scooter weight.
Is a 2-inch hitch always strong enough? +
No. A 2-inch receiver is only the physical size. You still need to check the hitch rating and the vehicle’s rating, then use the lower number.
Can I drive the scooter up the ramp? +
Sometimes, but only if the carrier instructions allow it and the user can control the scooter safely at a very low speed. Steep ramps, wet surfaces, and narrow platforms increase risk.
Will a hitch carrier block my backup camera or license plate? +
It may. Rear carriers can block cameras, parking sensors, tail lights, or the license plate. Check visibility with the carrier loaded, and review state requirements for plate and lighting visibility.
How much extra capacity should I leave? +
Aim to stay at least 10% to 15% below the lowest rated limit when possible. More margin is helpful for rough roads, steep driveways, and heavier scooters.
Related guides
Mobility Scooter Carriers and Vehicle Lifts: Hitch Weight Limits, Scooter Weight, and Safety Checks
14 min read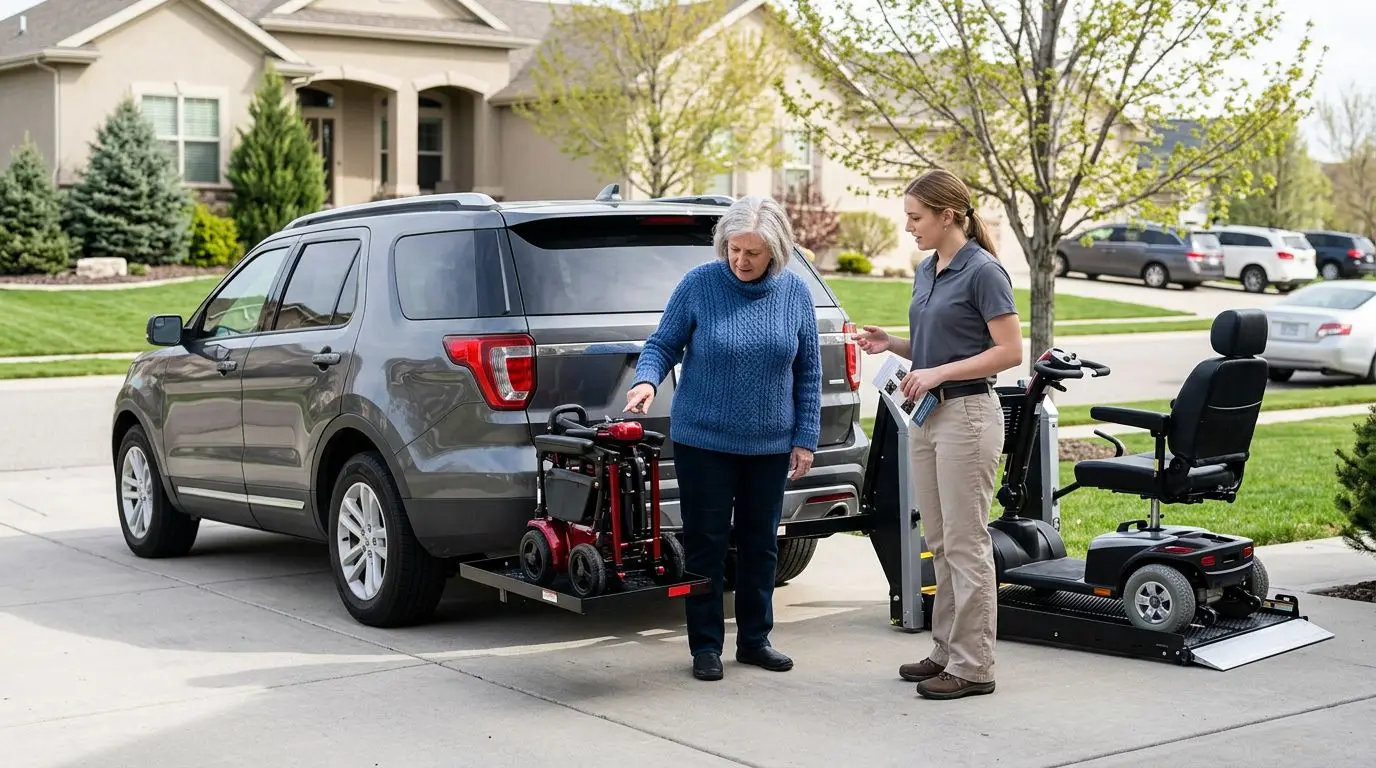
Mobility Scooter Carriers vs. Vehicle Lifts: Which Transport Option Makes Sense?
16 min read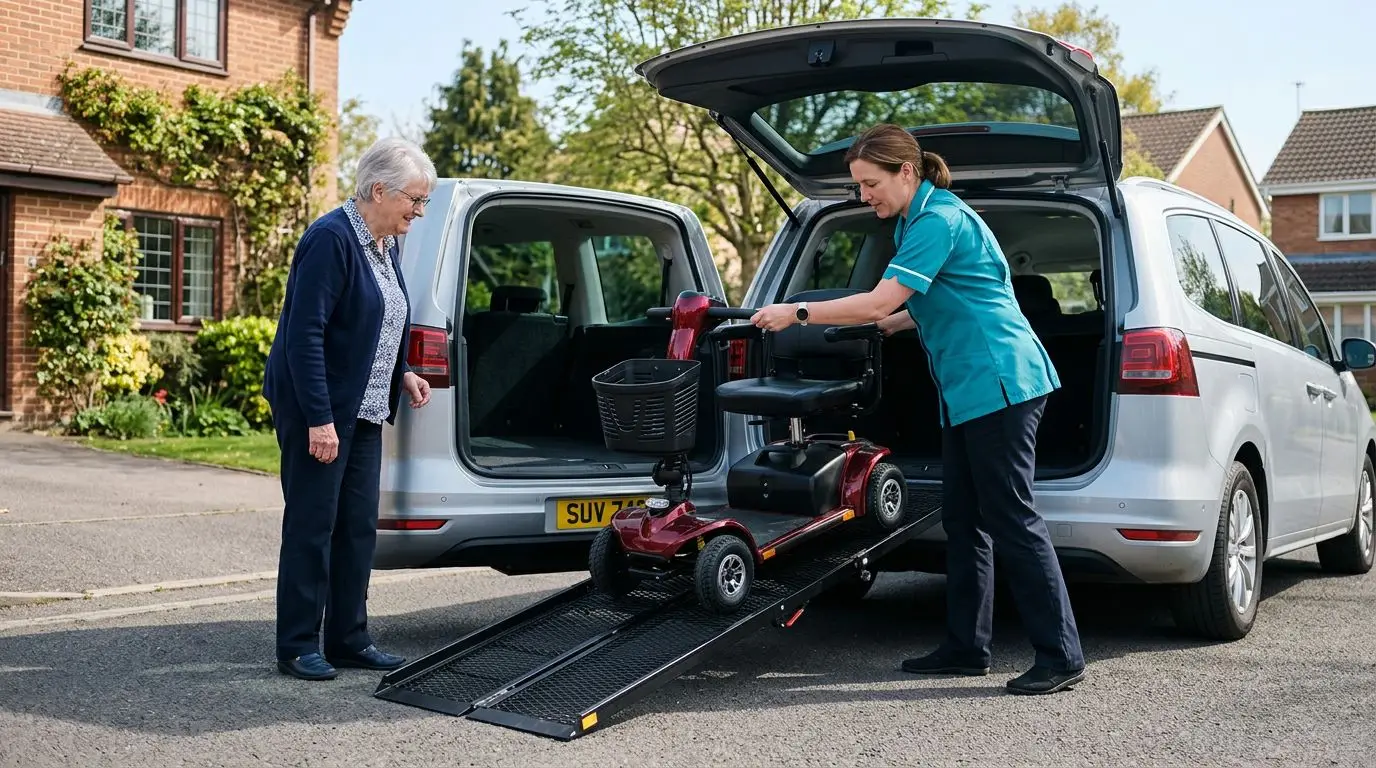
How to Transport a Mobility Scooter by Car: Lifts, Hitch Carriers, Ramps, and Portable Options
14 min read