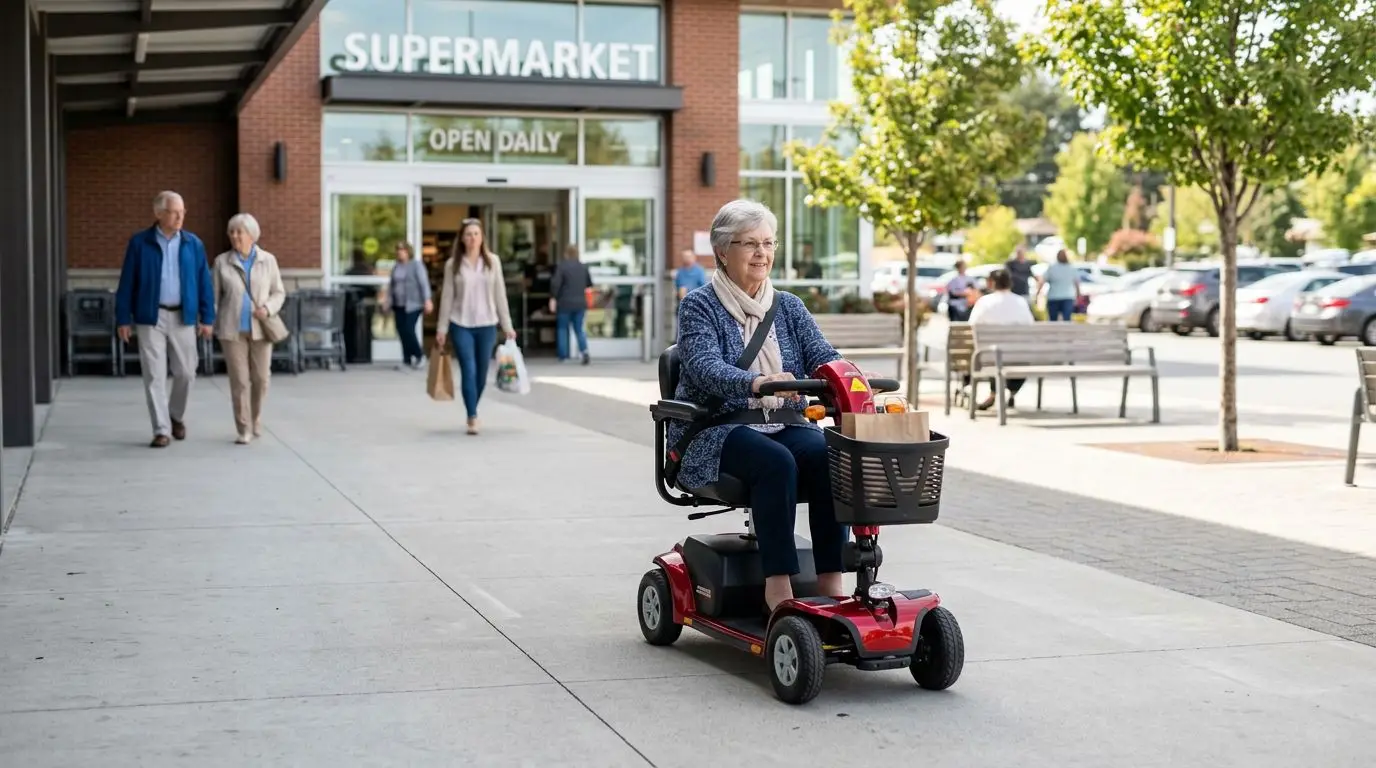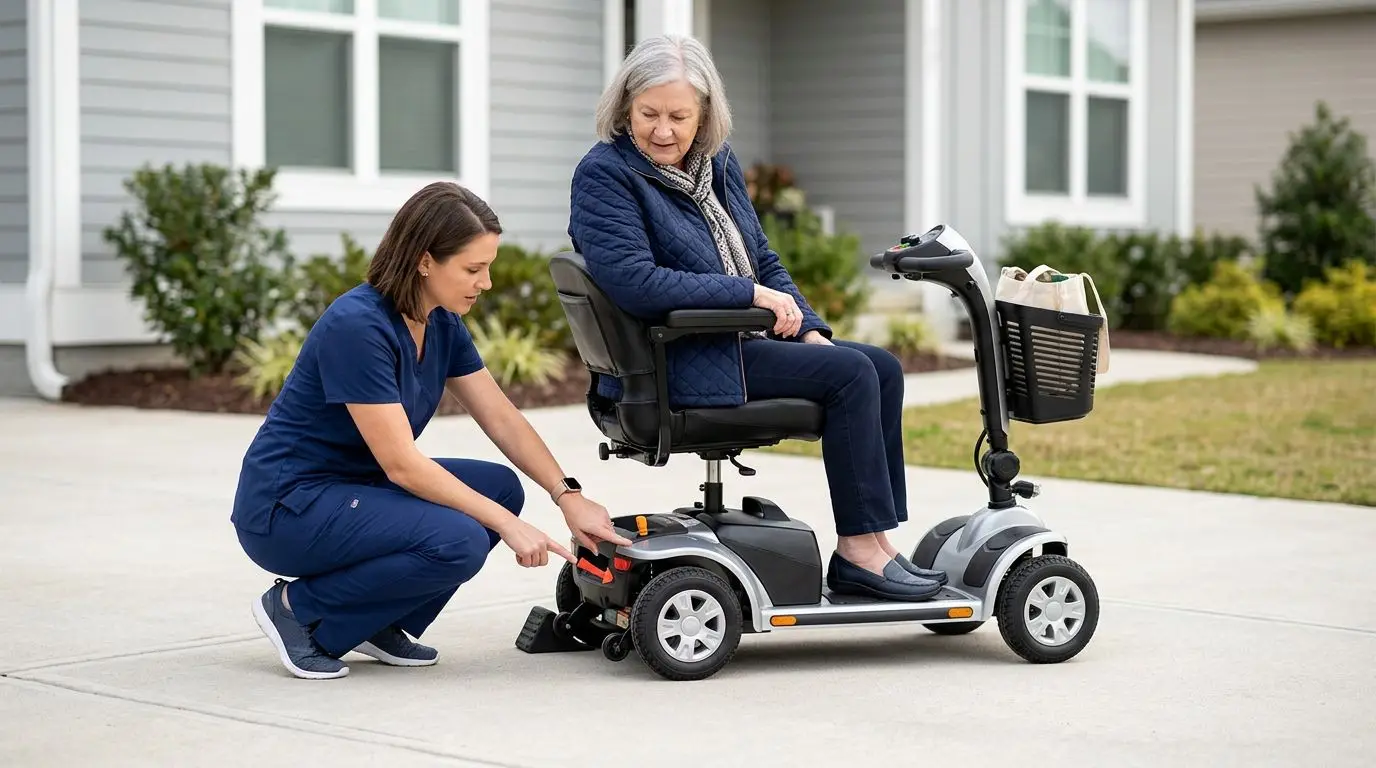
Most mobility scooters stop by combining electronic motor control with an electromagnetic brake that locks automatically when you release the throttle. Freewheel mode releases that brake so the scooter can be pushed by hand, but it should never be used while riding or parking on a slope. If your scooter rolls when it should be locked, gives brake warnings, stops unevenly, or has a loose freewheel lever, do not ride it until it has been checked.
Brakes are easy to overlook because normal scooter stopping feels simple: let go of the throttle and the scooter slows down. The safety system behind that simple motion matters, especially when you are parking near a curb, using a ramp, or asking a caregiver to move the scooter manually. This guide explains what the brake does, what freewheel mode changes, and which practical checks can help prevent rollaways and unsafe rides.
How mobility scooter brakes work at 0 to 5 mph
Most travel, mid-size, and full-size mobility scooters are built for walking-speed operation, commonly around 4 to 5 mph on level ground. At those speeds, stopping usually happens in two stages. First, the controller reduces power to the motor when you release the throttle. Then an electromagnetic brake engages to hold the scooter still once it has slowed or stopped.
The electromagnetic brake is often mounted near the drive motor or transaxle. When the scooter is powered and in drive mode, the system allows the motor to turn. When you release the throttle, turn the key off, or the controller detects a safety fault, the brake is designed to engage and resist wheel movement. That is why a properly working scooter should not roll freely when it is switched off and the freewheel lever is in the drive position.
This is different from squeezing a bicycle hand brake. Many scooters do not use a traditional friction brake as the main stopping control during everyday riding. The rider’s primary control is the throttle lever or wig-wag paddle: press to go, release to slow and stop. Some scooters may also have a hand-operated parking or supplemental brake, but the electromagnetic brake is the main holding brake on many 3-wheel and 4-wheel designs.
Stopping distance varies. A scooter traveling 4 mph on dry indoor flooring may stop in a short, controlled distance, while the same scooter going downhill on a ramp may take longer and feel heavier. Rider weight, cargo, tire condition, ramp grade, battery state, and surface traction all affect how quickly it settles to a stop. A wet painted curb cut is not the same as a dry hallway.
| Brake-related part | What it does | What you should notice |
|---|---|---|
| Throttle control | Commands speed and direction | Scooter slows when you release it |
| Motor controller | Reduces drive power and manages speed | Acceleration and slowing feel smooth |
| Electromagnetic brake | Locks the drive system when stopped | Scooter resists rolling in drive mode |
| Freewheel lever | Releases the brake for manual pushing | Scooter can be pushed only when intentionally disengaged |
| Battery system | Powers controls and brake release | Low battery may trigger warning behavior |
A good habit: before every outing, move a few feet at low speed and release the throttle. The scooter should slow predictably, stop without a hard lurch, and stay put when you are no longer pressing the control.
Freewheel mode: what the lever changes in under 10 seconds
Freewheel mode is a manual release. It lets someone push the scooter when the motor is not driving it, such as when loading it into a vehicle, moving it around a garage, or repositioning it after the battery has run down. The lever is usually near the rear drive section, often low on the scooter where it connects to the motor or transaxle.
On many scooters, switching the lever from drive to freewheel takes less than 10 seconds. The time is not the important part; the change is. In freewheel, the brake holding function is disengaged. That means the scooter can roll with gravity, even if the key is off. If the scooter is on a driveway, ramp, or sloped sidewalk, freewheel mode can create an immediate rollaway risk.
Use freewheel only when the scooter is unoccupied unless the owner’s manual specifically gives another procedure for a special situation. Even then, treat it as a manual-moving mode, not a riding mode. Do not sit on the scooter and coast in freewheel. You will not have normal powered braking, speed control, or reverse control.
Many scooters will not drive while the lever is in freewheel. They may beep, flash a code, or refuse to move until the lever is returned to drive and the scooter is reset. That behavior is a safety feature, not a nuisance. If the scooter drives with the lever in an uncertain middle position, stop and check it before riding farther.
- Drive mode: Use for normal riding, stopping, and parking.
- Freewheel mode: Use only to push the scooter by hand on a controlled, mostly level surface.
- Never use freewheel: On ramps, near curbs, on hills, or while seated and coasting.
- After using freewheel: Return the lever fully to drive before turning the scooter on and attempting to ride.
If you are helping someone move a scooter manually, stand where you can control the handlebar and the rear of the scooter. Keep the path short, clear, and level. A 150 lb scooter can pick up speed quickly on even a gentle slope.
A 30-second safe stopping and parking routine
Parking should be a routine, not a guess. A simple 30-second sequence can reduce rollaway risk and make the next ride easier.
First, stop on the flattest surface available. Release the throttle and let the scooter settle completely. Do not turn the key off while still moving unless there is an emergency; abrupt power changes can feel jerky and may make control harder.
Second, keep the freewheel lever in drive. If you or a caregiver used freewheel to push the scooter, confirm the lever is fully back in the drive position before parking. A lever that is halfway engaged can cause warning beeps, failure to move, or unpredictable holding.
Third, turn the scooter off and remove the key if it has one. This helps prevent accidental throttle contact, especially in a store aisle, apartment hallway, or shared living area. If your scooter has a tiller lock, seat lock, or basket area, make sure nothing is pressing against the throttle.
Fourth, test that the scooter is holding. With one hand on the tiller, gently try to nudge it forward or backward a few inches. You should feel resistance. Do not force it; this is a light confirmation, not a strength test.
| Parking location | Safer practice | Avoid |
|---|---|---|
| Level garage or room | Park straight, key off, freewheel in drive | Leaving the throttle pressed by a bag or coat |
| Sidewalk near curb | Park away from curb edge, wheels straight | Stopping with one wheel near a drop-off |
| Ramp landing | Use the flat landing, not the sloped ramp | Parking halfway up or down the ramp |
| Vehicle lift area | Follow lift instructions and secure the scooter | Leaving it in freewheel during transport |
| Shared hallway | Keep a clear path at least 36 inches wide where required | Blocking exits or door swings |
On any slope, choose a different parking spot if you can. If you must stop briefly on a grade, keep the scooter in drive mode, stay attentive, and avoid reaching down for the freewheel lever. For long parking, level ground is the safer choice.
5 warning signs the scooter should not be ridden
Some brake problems are obvious. Others appear as small changes in feel. If any of the following 5 warning signs appear, stop using the scooter until the issue is identified and corrected.
1. The scooter rolls when it is off and in drive mode
This is one of the clearest red flags. With the key off and the freewheel lever in drive, a scooter should resist rolling. If it moves freely, the freewheel lever may not be fully engaged, the brake may not be holding, or a linkage may be out of adjustment. Do not ride it as if nothing is wrong.
2. The scooter beeps or flashes a brake-related warning
Many scooters use beep patterns or light flashes to indicate faults. A common situation is trying to drive while the freewheel lever is still disengaged. Because codes vary by scooter type, the owner’s manual is the right reference. If the warning continues after returning the lever to drive and restarting, the scooter needs service attention.
3. Stopping distance suddenly increases
If you normally stop within a familiar distance in your hallway or driveway and the scooter now travels several feet farther, something has changed. It could be surface traction, tire pressure, added cargo, battery condition, controller behavior, or brake wear. Treat a sudden stopping change as a safety issue.
4. The scooter jerks, grabs, or stops unevenly
A brief, controlled slowdown is normal. A harsh grab, repeated pulsing, or a sideways pull is not. On a 3-wheel scooter, abrupt steering movement during stopping can feel especially unstable because there is a single front wheel. Slow down, get off safely, and inspect before riding again.
5. You smell burning, hear scraping, or see loose parts
Unusual heat, smells, grinding, or visible looseness near the rear drive area should be taken seriously. Do not touch hot parts. Turn the scooter off, keep it on level ground, and arrange for inspection.
There is no prize for “making it home” on a scooter that is warning you. If the brake system is questionable, call for help, use a safe chair while waiting, and keep the scooter out of traffic paths.
How to check stopping safely in a 6-foot test area
A short pre-ride brake check can be done in about 6 feet of clear, level space. This is not a repair test. It is a practical way to notice problems before you are on a ramp, in a parking lot, or crossing a driveway.
Start with the scooter on a flat surface. Make sure the seat is locked, the tiller is positioned comfortably, and the speed dial is set low. If your scooter has a high-low speed setting, choose the lower setting for the test.
- Step 1: Confirm the freewheel lever is fully in drive.
- Step 2: Turn the scooter on and wait for normal ready lights or sounds.
- Step 3: Move forward slowly for 3 to 6 feet.
- Step 4: Release the throttle completely.
- Step 5: Confirm the scooter slows smoothly, stops, and holds position.
- Step 6: Repeat once in reverse at the slowest practical speed.
Do not test brakes at top speed indoors. Do not test on a slope. Do not place your feet on the ground to “help” the scooter stop unless you are preventing an immediate hazard; foot dragging can cause injury and may hide a brake problem.
If another person helps, ask them to stand beside the scooter, not directly in front of it. A helper should be ready to guide and stabilize, but they should not try to stop a moving scooter with their body. Even a compact scooter can weigh more than 90 lb, and larger units can be much heavier.
After the check, listen. A single normal click as the brake engages may be expected on many scooters. Repeated clicking, grinding, or a warning tone is different. When in doubt, pause the ride.
How to choose and measure brake-related features before buying
Brake safety is not only about the brake itself. It is also about fit, speed, terrain, and how the scooter will be handled when the rider is not on it. Before choosing a scooter type, measure at least 3 things: your typical doorway width, your steepest routine ramp, and the storage or loading area where the scooter will be parked.
Doorways in many homes are around 30 to 36 inches wide, but older bathrooms, utility rooms, and interior halls can be tighter. A scooter that barely fits may require more starting and stopping in awkward positions. If you need to make a sharp turn at the end of a hallway, leave turning room rather than relying on quick throttle taps.
Ramp grade matters. A common accessibility guideline is a 1:12 slope, meaning 1 inch of rise for every 12 inches of ramp run. Steeper portable ramps may be used in some settings, but they require extra caution and must match the scooter’s instructions and the rider’s ability. Brakes feel more stressed on steeper grades because gravity is pulling the scooter downhill while the motor and brake system manage speed and holding.
Weight capacity also affects stopping. Do not choose a scooter where the rider, clothing, oxygen tank, groceries, and accessories are close to or over the stated limit. Added weight can affect acceleration, hill performance, battery drain, and stopping feel. Capacity is not a comfort suggestion; it is a safety boundary.
| Scooter type | Brake and freewheel considerations | Best matched use |
|---|---|---|
| Compact travel scooter | Often lighter, easier to push in freewheel, smaller tires may feel less forgiving on rough ground | Indoor use, smooth sidewalks, vehicle transport |
| Mid-size scooter | More stable feel than many compact units, still manageable in tight areas | Daily errands, apartments, community buildings |
| Full-size scooter | Heavier to push manually; parking and loading require more planning | Longer outdoor routes, larger riders, varied pavement |
| Heavy-duty scooter | Higher weight and power demand careful ramp and parking choices | Higher capacity needs, outdoor travel on suitable surfaces |
| 3-wheel design | Tighter turning; abrupt stops while turned can feel less stable | Indoor maneuvering and narrow spaces |
| 4-wheel design | Broader stance; may need more turning room | Outdoor paths and riders wanting a steadier base |
Ask practical questions before purchase or rental: Can I reach the freewheel lever without strain? Is the lever clearly marked drive/freewheel? Can a caregiver push this scooter safely if the battery dies? Does the scooter hold steady on the surfaces I use every week? These questions matter more than a long feature list.
Who it is best for: matching brake habits to 3 common users
Different riders use scooters in different ways. A brake system that feels simple in a senior apartment building may require more planning for someone who loads the scooter into a vehicle 4 times a week.
Best for mostly indoor riders
Indoor riders benefit from predictable low-speed control, a clear brake engagement feel, and a scooter that fits through the narrowest doorway they use. If most trips are under 500 feet at a time, smooth stopping at low speed may matter more than outdoor speed. The rider should be able to release the throttle quickly and consistently.
Best for riders who use ramps or curb cuts
Anyone using ramps should be especially careful with speed settings, straight approaches, and freewheel awareness. Approach ramps squarely, not at a sharp angle. Avoid stopping halfway on a ramp when possible. If a route includes a steep driveway every day, the scooter must be suitable for that grade and total rider load.
Best for caregivers who move the scooter by hand
Caregivers need a freewheel lever that is easy to identify and a scooter weight they can manage. A scooter that weighs 200 lb or more may be difficult to control manually, even on a mild slope. If manual pushing is routine, practice in a flat, open area before trying it near a vehicle lift or ramp.
The best setup is the one the rider and helper can operate correctly every time. Labels, lever access, lighting, and storage layout all play a role.
Emergency steps if the scooter will not stop or will not move
True brake emergencies are uncommon, but knowing the next 3 steps can keep a stressful moment from getting worse. Stay calm, reduce speed, and get to a safe, level area if you can.
If the scooter does not slow as expected, release the throttle completely and keep both hands on the tiller. Turn toward a clear, open area rather than a curb, doorway, person, or parked car. If your scooter has a horn, use it to alert others. Avoid sharp turns at speed.
If the scooter will not move after being parked, check the simple causes first. Is the freewheel lever fully in drive? Is the key on? Is the battery charged enough? Is the charger unplugged from the scooter? Many scooters are designed not to drive while connected to a charger.
If the scooter moved in freewheel and now will not drive, turn it off, return the lever firmly to drive, wait a few seconds, and turn it back on. Some controllers need a reset after detecting freewheel mode. If warnings continue, stop troubleshooting and get qualified service help.
- Do not ride if the brake warning remains after a reset.
- Do not bypass a brake switch, lever, or safety interlock.
- Do not tow the scooter unless the manual specifically allows it.
- Do not transport it unsecured in freewheel mode.
For medical or personal safety concerns, use your judgment and call for assistance. A mobility scooter supports independence, but it is still a powered vehicle. When the stopping system is uncertain, the safer choice is to pause.
FAQ: 5 brake and freewheel questions
Should my mobility scooter roll when it is turned off?
No, not if the freewheel lever is in the drive position and the brake is working properly. It should resist rolling. If it rolls freely, check the lever position on level ground and do not ride until the cause is known.
Can I ride downhill in freewheel mode to save battery?
No. Freewheel mode removes normal powered control and brake holding. Coasting downhill in freewheel is unsafe because you may not be able to slow or stop in a controlled way.
Why does my scooter beep after I move the freewheel lever?
Many scooters beep because they detect the brake release or freewheel position. Return the lever fully to drive, turn the scooter off, wait a few seconds, and restart. If the warning remains, refer to the manual or arrange service.
Is a clicking sound normal when I stop?
A single click as the electromagnetic brake engages can be normal on many scooters. Repeated clicking, grinding, scraping, or a new loud noise should be checked before riding.
Can a caregiver push the scooter with me sitting on it?
Usually, that is not recommended unless the scooter instructions specifically allow a certain procedure. Freewheel mode is mainly for moving an unoccupied scooter by hand on a level surface.
How often should I test the brakes?
Do a brief stop-and-hold check before each outing, especially if you will use ramps, sidewalks, or parking lots. A 30-second check is enough to notice many obvious problems.
Frequently asked questions
Should my mobility scooter roll when it is turned off? +
No. If the freewheel lever is in drive and the brake is working, the scooter should resist rolling when turned off. If it rolls freely, do not ride until the lever and brake are checked.
Can I ride downhill in freewheel mode? +
No. Freewheel mode releases normal brake holding and powered control. It is for pushing an unoccupied scooter by hand on a controlled, level surface.
Why does my scooter beep after using the freewheel lever? +
Many scooters beep when the controller detects that the brake is released or the lever is not fully back in drive. Return the lever to drive, restart the scooter, and seek service if the warning continues.
What are signs that a mobility scooter brake may be unsafe? +
Do not ride if the scooter rolls in drive mode, shows brake warnings, stops much farther than usual, jerks or grabs when stopping, or has grinding noises, burning smells, or loose parts.
How often should I check my scooter brakes? +
Do a short low-speed stop-and-hold check before each outing. Use a clear, level area and confirm the scooter slows smoothly, stops, and stays put.
Related guides
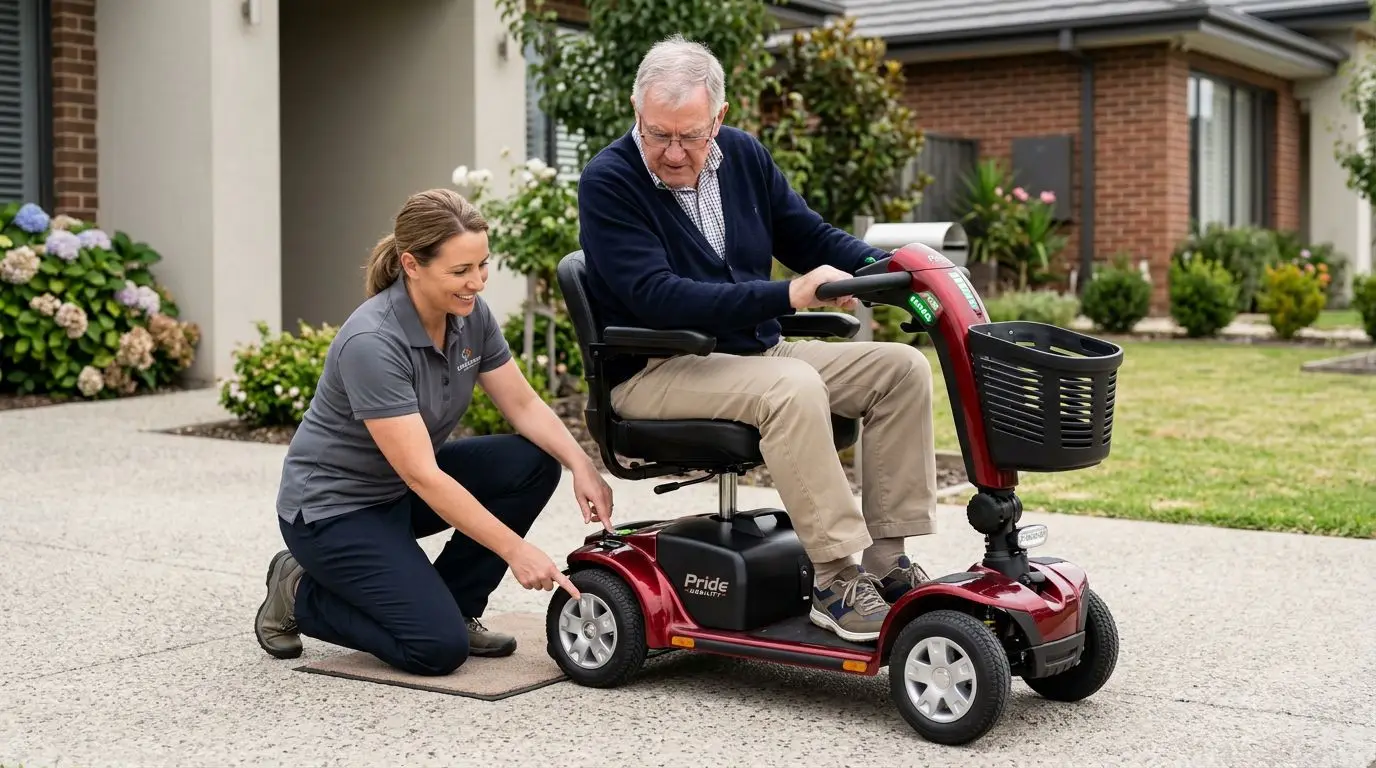
Mobility Scooter Keeps Beeping or Won’t Move? Brake, Battery, and Error-Code Checks
13 min read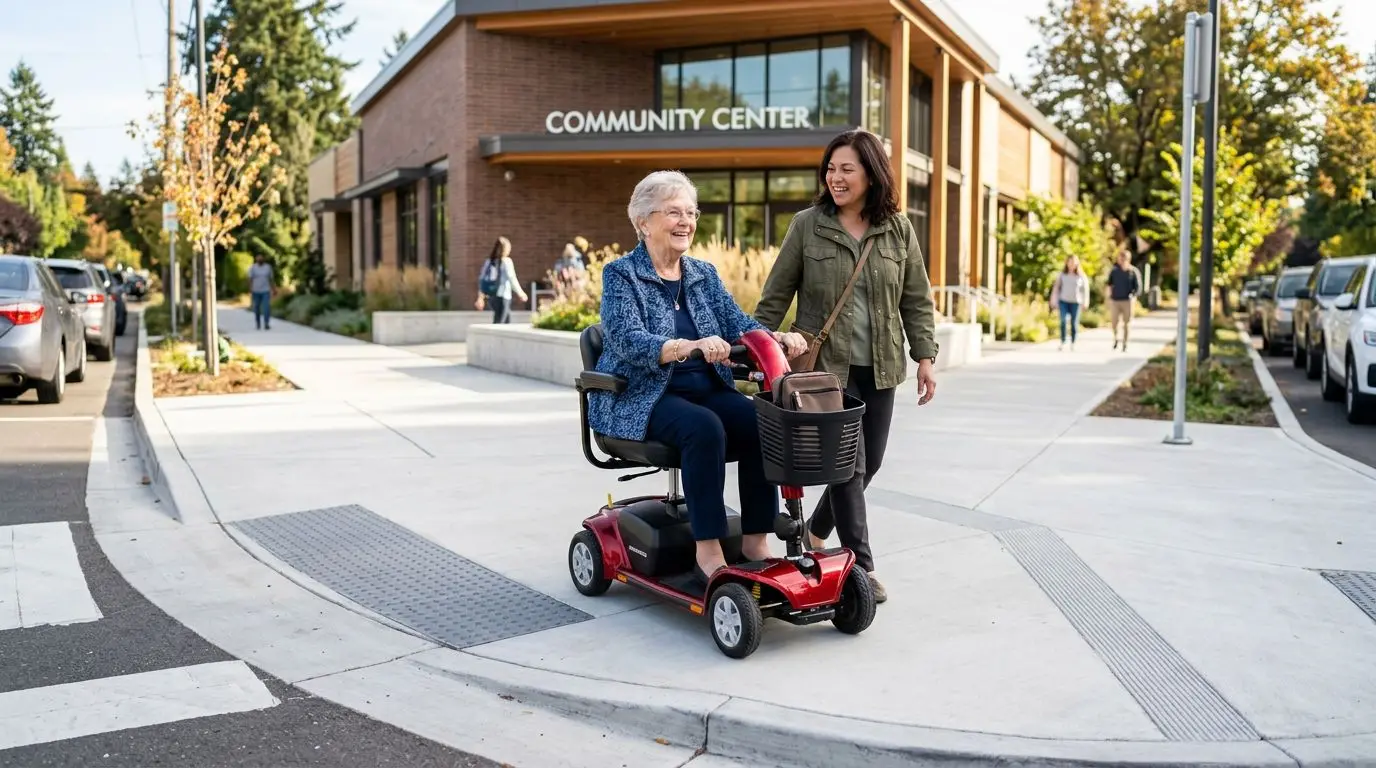
Mobility Scooter Safety Guide for Seniors: How to Ride, Turn, Stop, and Park With Confidence
15 min read
What to Do If Your Mobility Scooter Breaks Down Away From Home
14 min read