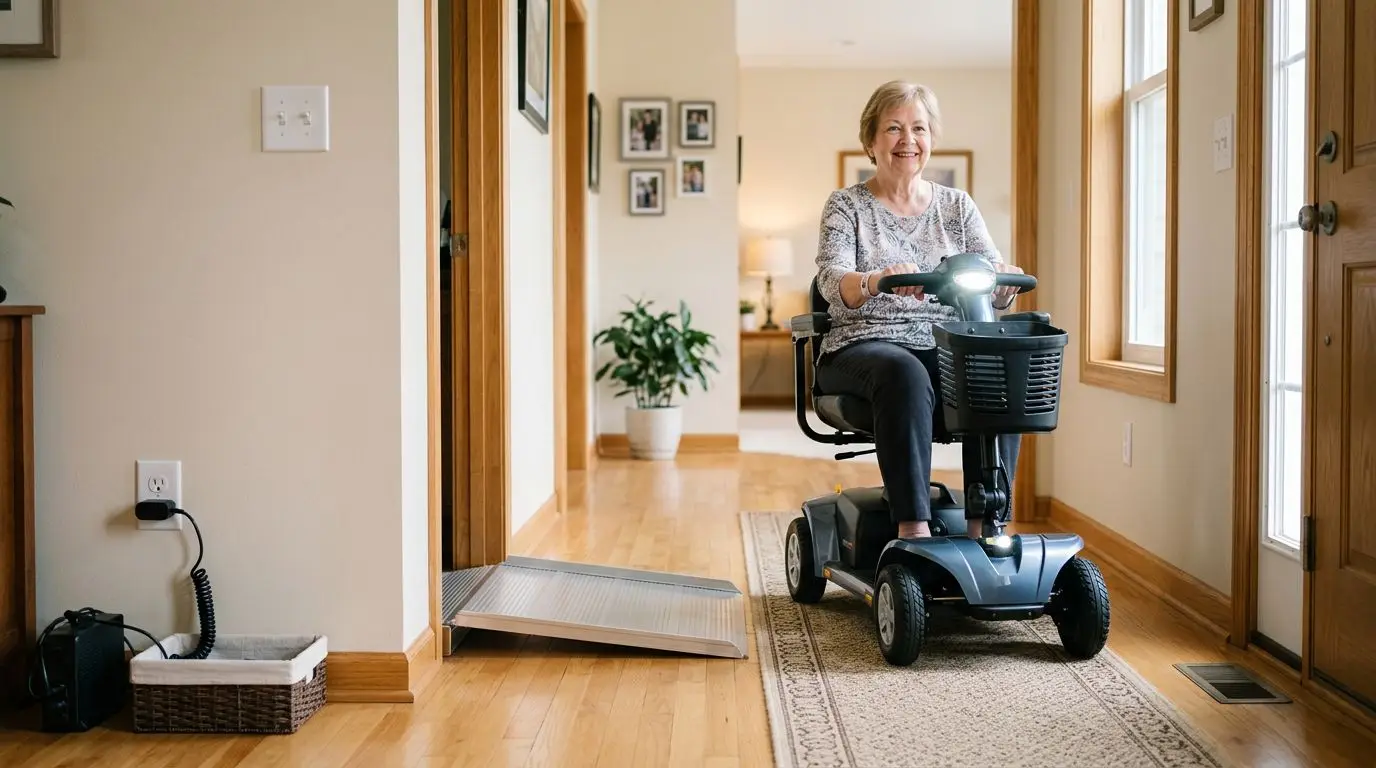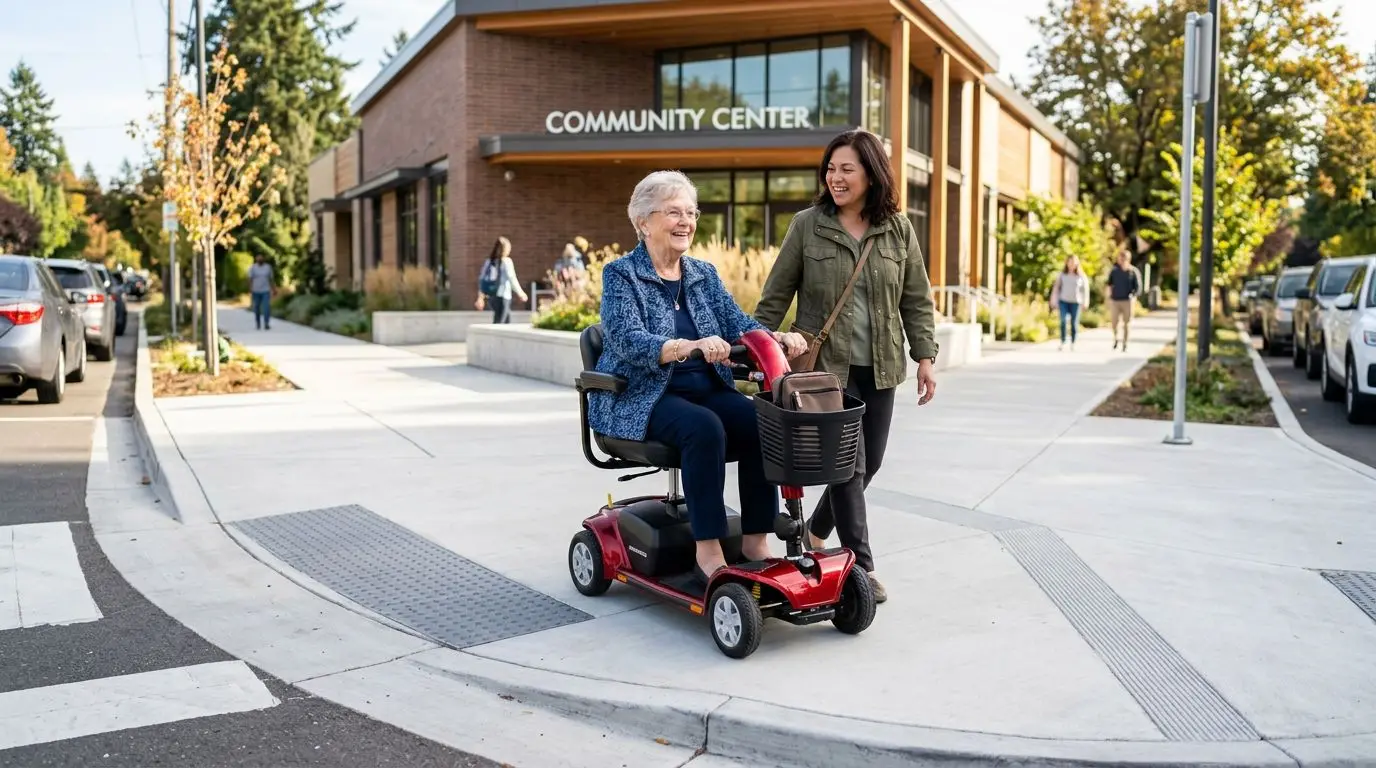
The safest way to ride a mobility scooter is to start slowly, keep both hands on the tiller, make wide controlled turns, brake before hazards, and park on flat ground with the power off. New riders should practice for 10 to 20 minutes in an open area before using sidewalks, stores, ramps, or crowded spaces. Caregivers can help by checking the route, confirming the scooter fits through key spaces, and watching the first few rides without rushing the rider.
A mobility scooter can support everyday independence, but it is still a powered vehicle. Good habits matter. This guide focuses on practical operation: how to get seated, start, steer, turn, stop, park, and handle common situations safely without assuming any specific brand or model.
Who this safety routine is best for: 3 common beginner situations
This guide is written for older adults who are new to mobility scooters, returning after a long break, or changing from a walker, cane, manual wheelchair, or power chair. It is also useful for caregivers who need a simple way to coach without taking over.
The advice is especially helpful in 3 everyday situations: using a scooter inside the home, riding around a senior living community, and traveling to stores, medical appointments, or neighborhood sidewalks. Each setting has different risks. A hallway may be tight. A grocery aisle may have people stepping out suddenly. A sidewalk may have uneven panels or curb cuts.
A scooter is not the right answer for every person or every condition. A rider should be able to sit upright, keep at least one hand steady on the controls, see obstacles, understand basic traffic and pedestrian rules, and respond quickly enough to stop. If there are concerns about vision, reaction time, dizziness, cognition, or recent falls, it is wise to ask a clinician, physical therapist, or occupational therapist for an individualized safety review.
| Rider situation | Safety focus | Good first practice area |
|---|---|---|
| New scooter user | Starting, stopping, steering, speed control | Open driveway, empty community room, or quiet parking lot |
| Indoor user | Doorways, furniture, tight turns | Hallway with at least 36 inches of clear width |
| Outdoor user | Sidewalks, slopes, curb cuts, pedestrians | Flat paved path with minimal traffic |
The 3-2-1 pre-ride check before every trip
Before each ride, use a simple 3-2-1 check: 3 scooter checks, 2 rider checks, and 1 route check. It takes about 60 seconds and can prevent many common problems.
First, check the scooter. Confirm the battery has enough charge for the trip, the seat is locked in place, and the tires or wheels look safe. If the scooter uses air-filled tires, look for visible low pressure or damage. If it uses solid tires, look for cracks, flat spots, or debris stuck in the tread. Make sure the freewheel lever, if present, is in drive mode before sitting down; a scooter in freewheel may roll unexpectedly.
Second, check the rider. Sit with hips back in the seat, feet fully on the platform, and clothing clear of the wheels. Loose scarves, long coats, shopping bags, and oxygen tubing should be positioned so they cannot catch. If the scooter has a lap belt or positioning belt, use it as directed in the owner materials. A belt is not a substitute for safe driving, but it may help keep posture stable on turns or uneven surfaces.
Third, check the route. Look for the first 20 to 30 feet ahead before moving. Note pets, cords, rugs, puddles, curb edges, wet leaves, gravel, snow, elevator gaps, automatic doors, and people using walkers or carts. If the route looks too narrow or crowded, wait or choose another path.
- Battery: enough charge for the round trip, not just one way.
- Seat: locked, facing forward, with armrests positioned as needed.
- Controls: speed set low before starting.
- Feet: both feet on the deck, not dragging beside the scooter.
- Route: clear for at least the first 20 feet.
How to get on and off safely in 5 steps
Mounting and dismounting are when many near-falls happen. Take your time. A safe transfer usually takes less than 1 minute, but it should never be rushed.
Use these 5 steps. First, park on level ground. Second, turn the scooter off and remove the key if it has one. Third, set the seat straight or swivel it only if the scooter is designed for that and the seat locks securely. Fourth, place one hand on a stable armrest or transfer surface, not on the throttle. Fifth, sit down fully before touching the controls.
When getting off, reverse the process. Stop completely, turn the power off, move bags out of the way, and stand only when both feet are placed securely. Do not step off while the scooter is still rolling, even slowly. A scooter moving at 1 mph can still pull a foot or cane out of position.
If the rider needs help transferring, the caregiver should stand close enough to guard but should avoid pulling on the rider's arms unless trained to do so. A gait belt, transfer pole, or professional transfer training may be appropriate for some people. The safest method depends on strength, balance, and the home setup.
Starting and riding straight at 1 to 2 mph
Most beginners should start at the lowest speed setting, often close to a slow walking pace of about 1 to 2 mph. The exact controls vary, but the principle is the same: power on, check the speed dial, look ahead, then apply gentle pressure to the throttle.
Do not jab the throttle. A small movement is enough to start most scooters. Keep both hands on the tiller unless the scooter is specifically designed for one-handed operation and the rider has practiced safely. Look where you want to go, not down at the front wheel. Your hands tend to follow your eyes.
Ride in a straight line for 15 to 20 feet, then stop. Repeat this several times before adding turns. This helps the rider learn how quickly the scooter responds and how much stopping distance is needed. On smooth indoor floors, a scooter may coast or roll differently than it does on textured sidewalks.
Keep feet flat on the deck. Letting one foot hang off the side can lead to a scrape, twist, or loss of balance. If the rider cannot comfortably keep both feet on the platform, stop and adjust the seating position before continuing.
Turning safely with the 3-point rule
For safe turns, remember the 3-point rule: slow down before the turn, look through the turn, and make the turn wide. Most tip scares happen when a rider turns too sharply while going too fast, especially on a slope, curb cut, or uneven surface.
Three-wheel scooters often have a tighter turning radius than four-wheel scooters, which can help indoors. Four-wheel scooters may feel steadier for some riders on outdoor paths. Either type can become unstable if the rider turns abruptly or leans outward. The safe technique matters more than the wheel count.
Before turning, reduce speed to the lowest comfortable setting. Keep shoulders relaxed and centered over the seat. Avoid leaning to the outside of the turn. If space is tight, use a 3-point turn: turn partway, stop, reverse slightly if it is safe, then turn again. Check behind you before reversing, and use the horn or voice if people are nearby.
| Turn type | Best technique | Common mistake |
|---|---|---|
| Wide hallway turn | Slow before the corner and keep a smooth arc | Accelerating while turning |
| Tight kitchen or bedroom turn | Use a 3-point turn and stop between movements | Forcing the scooter around furniture |
| Sidewalk corner | Stay centered on the pavement and scan for curb edges | Cutting too close to grass or a drop-off |
| Store aisle turn | Pause at the end cap and look both ways | Assuming shoppers will see you |
Stopping distance: practice at 5 feet, 10 feet, and 15 feet
A scooter does not stop like a footstep. Even with responsive controls, the rider's reaction time and the scooter's momentum create stopping distance. Practice stopping from different speeds at 5 feet, 10 feet, and 15 feet from a visible marker, such as a cone or taped line.
To stop, release the throttle gradually unless an urgent stop is needed. Many scooters have automatic braking that engages when the throttle is released, but the feel varies. Some stop quickly; others feel smoother and take more space. Learn this feel before riding near people, displays, doors, or traffic areas.
Keep extra distance behind pedestrians. A person may stop suddenly to answer a phone, pick up an item, or turn into a doorway. In stores and medical buildings, allow at least one scooter length between you and the person ahead whenever possible. More space is better on ramps and wet surfaces.
If the scooter has a horn, use it politely. A short beep or a clear “excuse me” works better than squeezing through. Remember that some pedestrians have hearing loss, low vision, or balance issues of their own. Slow, predictable riding is safer than expecting others to move quickly.
Ramps, curbs, and slopes: use a 1-inch caution mindset
Any height change deserves attention, even a 1-inch lip at a doorway or sidewalk panel. Small edges can jolt the scooter, shift the rider's weight, or catch a wheel. Approach transitions straight on whenever possible, not at a sharp angle.
Use only ramps and curb cuts that are appropriate for scooters. A curb without a cutout is not a ramp. Do not try to drive off a curb, climb a curb, or cross landscaping edges. If a route requires curb jumping, it is not a safe scooter route.
On ramps, go slowly and keep your body centered. Avoid turning on the ramp. If you must turn, wait until you are on flat ground at the top or bottom. Wet ramps, painted surfaces, leaves, ice, and loose gravel can reduce traction. When in doubt, choose a longer but flatter route.
Slopes also affect battery use and control. Going uphill may reduce speed and battery range, while going downhill may make the scooter feel faster. Use the lowest practical speed when descending. If the scooter feels like it is pulling or drifting, stop on level ground if you can do so safely and reassess the route.
Indoor safety: measure 30-inch doorways and 36-inch paths
Indoor scooter safety starts with space. Many interior doorways are around 30 to 32 inches wide, while accessible routes are often planned around at least 36 inches of clear width. Your scooter, hands, elbows, baskets, and turning room all matter.
Measure the scooter's overall width at its widest point, then measure the tightest doorway, hallway, bathroom entry, and bedroom path. Leave extra clearance on each side. A scooter that technically fits through a doorway may still be hard to drive through safely if the rider must line up perfectly every time.
Remove throw rugs, cords, clutter, low tables, and unstable furniture from regular routes. Rugs can bunch under wheels. Cords can tangle. A narrow path beside a bed may work once but become risky at night or when the rider is tired. Good lighting helps, especially near thresholds and bathroom doors.
Elevators require patience. Enter straight, stop fully, then turn only if there is enough room. Keep clear of the door track. When exiting, wait for people to move away before driving out. A scooter plus rider can be difficult for others to judge, so make your movements slow and obvious.
| Feature or space | What to check | Why it matters |
|---|---|---|
| Doorway | Measure clear opening, often 30 to 32 inches in homes | Prevents scraping, panic turns, and stuck wheels |
| Hallway | Aim for about 36 inches of clear path when possible | Allows straighter travel and safer corrections |
| Flooring | Check rugs, thresholds, cords, and slick tile | Reduces tripping and wheel-catching hazards |
| Lighting | Add light at thresholds and turns | Helps the rider see edges and obstacles sooner |
Outdoor safety in 4 everyday places
Outdoor riding adds speed, weather, traffic patterns, and other people. Start with 4 common places: sidewalks, parking lots, store entrances, and crosswalk areas.
On sidewalks, stay to the right when practical and pass slowly. Watch for uneven slabs, tree roots, driveway slopes, and bicycles. If a sidewalk becomes too narrow, rough, or blocked, stop before deciding what to do. Do not steer into a street unless it is legal, necessary, and safe in that specific location.
Parking lots are high-risk because drivers may be backing out and may not see a seated rider below mirror height. Use marked pedestrian paths when available. Make eye contact with drivers when possible, but do not rely on it. Bright clothing, lights, and a flag can improve visibility, especially at dusk.
Store entrances often have mats, automatic doors, wet floors, carts, and people changing direction. Slow down before entering. Avoid carrying large bags on the tiller because extra weight can affect steering and block the controls. Use a basket or secure storage area designed for the scooter when available.
At crosswalks, wait for the signal and allow enough time to cross at a steady pace. If the crossing time feels too short, choose a different route or ask local transportation or accessibility services about options. Never assume a turning driver has seen you.
Parking and charging: the 2-foot clearance habit
Good parking is part of safe riding. Park on a flat, stable surface with at least 2 feet of clearance where people need to walk, if space allows. Do not block exits, fire doors, ramps, elevator doors, hallways, or medical equipment areas.
Before getting off, stop fully, turn the power off, remove the key if there is one, and make sure the scooter will not roll. Keep the tiller and basket out of the walking path. In shared buildings, park where staff and neighbors expect scooters to be, not in a surprise spot around a corner.
Charging should follow the scooter's owner instructions. Use the correct charger, keep cords out of walkways, and avoid charging where the cord creates a trip hazard. Do not use damaged cords or loose outlets. If the battery, charger, or plug becomes unusually hot, smells odd, or looks damaged, stop using it and have it checked by a qualified service provider.
Plan battery use conservatively. A route that is easy with a full battery may be stressful if the charge is low, especially with hills, cold weather, or rough surfaces. For essential trips, aim to return with a comfortable reserve rather than using the battery down to the last bar.
Caregiver coaching in the first 20 minutes
Caregivers can make early scooter use safer by coaching calmly during the first 20 minutes of practice. The goal is not to control every movement. The goal is to help the rider build repeatable habits.
Choose an open, quiet area with no pets, crowds, or traffic. Set up simple markers: start line, stop line, left turn, right turn, and parking spot. Give one instruction at a time. “Slow down before the turn” is easier to process than a long list of corrections.
Stand where the rider can see you, but not directly in the scooter's path. Avoid grabbing the tiller unless there is an immediate danger. Grabbing can startle the rider and may make steering worse. If the rider becomes anxious, stop, turn off the scooter, and take a short break.
Keep notes about problem areas. Does the rider drift left? Forget to turn the speed down indoors? Stop too close to furniture? These patterns are fixable with practice, route changes, or professional guidance. If problems persist, an occupational therapist or mobility specialist may be able to assess seating, controls, vision, and home layout.
A 7-day confidence practice plan
Short practice sessions work well for many beginners. Try 10 to 15 minutes per day for 7 days, stopping sooner if the rider becomes tired or frustrated. Fatigue affects judgment, posture, and reaction time.
- Day 1: Learn the controls while parked, then practice straight starts and stops.
- Day 2: Add wide left and right turns at the lowest speed.
- Day 3: Practice 3-point turns and backing up only a few feet at a time.
- Day 4: Ride through measured indoor paths and doorways with supervision.
- Day 5: Practice stopping at 5, 10, and 15 feet from a marker.
- Day 6: Try a quiet outdoor route with curb cuts and a flat sidewalk.
- Day 7: Combine skills: start, turn, stop, park, and charge after the trip.
Confidence should come from control, not speed. If a rider can start smoothly, stop predictably, turn without rushing, and park without blocking others, the basics are taking hold.
FAQs: 5 beginner mobility scooter safety questions
How fast should a senior ride a mobility scooter?
Use the slowest speed that fits the setting. Indoors and in crowds, that may be close to 1 to 2 mph. Higher speeds should be reserved for open, smooth outdoor areas where the rider has enough space to stop safely.
Is a 3-wheel or 4-wheel scooter safer for turning?
Neither is automatically safer in every situation. Three-wheel scooters often turn tighter, which can help indoors, while four-wheel scooters may feel more stable to some riders outdoors. Safe turning depends on slowing before the turn, keeping the body centered, and avoiding sharp turns on slopes.
Can mobility scooters go on ramps?
They can use appropriate ramps and curb cuts when the surface is dry, stable, and within the scooter's limits. Approach straight, slow down, and avoid turning on the ramp. Do not drive off curbs or use makeshift ramps.
What should I do if my scooter starts to tip or feels unstable?
Release the throttle, keep your body centered, and stop as safely as possible. Do not try to correct by accelerating. After stopping, check the surface, speed setting, load, and turn angle before continuing.
How can caregivers tell if a scooter is no longer safe for a rider?
Warning signs include repeated close calls, trouble understanding controls, unsafe speed choices, frequent collisions with walls or furniture, poor awareness of pedestrians, or inability to transfer safely. A professional mobility or clinical assessment can help determine next steps.
Frequently asked questions
How fast should a senior ride a mobility scooter? +
Use the slowest speed that fits the setting. Indoors and in crowds, that may be close to 1 to 2 mph. Higher speeds should be reserved for open, smooth outdoor areas where the rider has enough space to stop safely.
Is a 3-wheel or 4-wheel scooter safer for turning? +
Neither is automatically safer in every situation. Three-wheel scooters often turn tighter, which can help indoors, while four-wheel scooters may feel more stable to some riders outdoors. Safe turning depends on slowing before the turn, keeping the body centered, and avoiding sharp turns on slopes.
Can mobility scooters go on ramps? +
They can use appropriate ramps and curb cuts when the surface is dry, stable, and within the scooter's limits. Approach straight, slow down, and avoid turning on the ramp. Do not drive off curbs or use makeshift ramps.
What should I do if my scooter starts to tip or feels unstable? +
Release the throttle, keep your body centered, and stop as safely as possible. Do not try to correct by accelerating. After stopping, check the surface, speed setting, load, and turn angle before continuing.
How can caregivers tell if a scooter is no longer safe for a rider? +
Warning signs include repeated close calls, trouble understanding controls, unsafe speed choices, frequent collisions with walls or furniture, poor awareness of pedestrians, or inability to transfer safely. A professional mobility or clinical assessment can help determine next steps.
Related guides

First-Time Mobility Scooter Safety Checklist for Seniors, Caregivers, and New Riders
13 min read
How to Prevent Mobility Scooter Tip-Overs: Slopes, Turns, Curbs, and Weight Balance Explained
14 min read
Mobility Scooter Speed and Braking Safety: Choosing the Right Speed for Stores, Sidewalks, and Crowds
12 min read