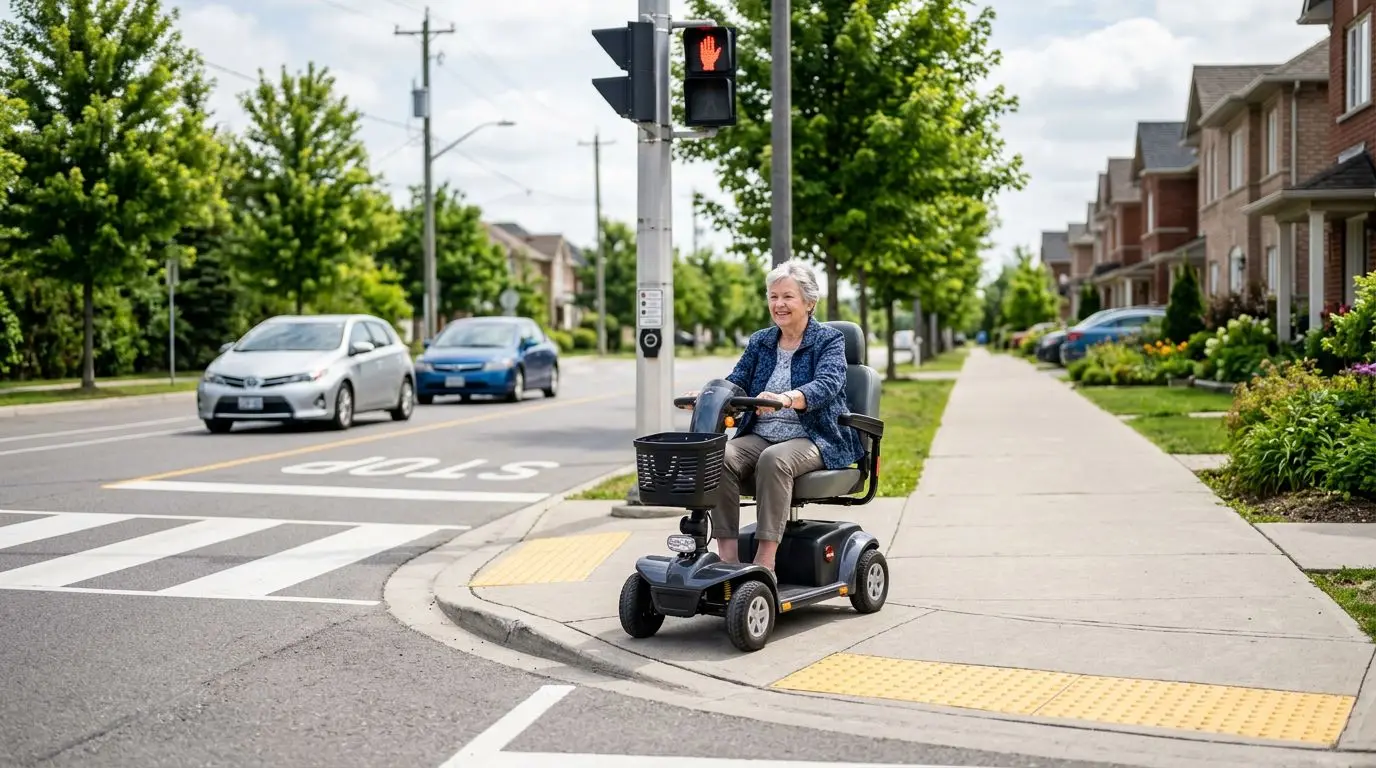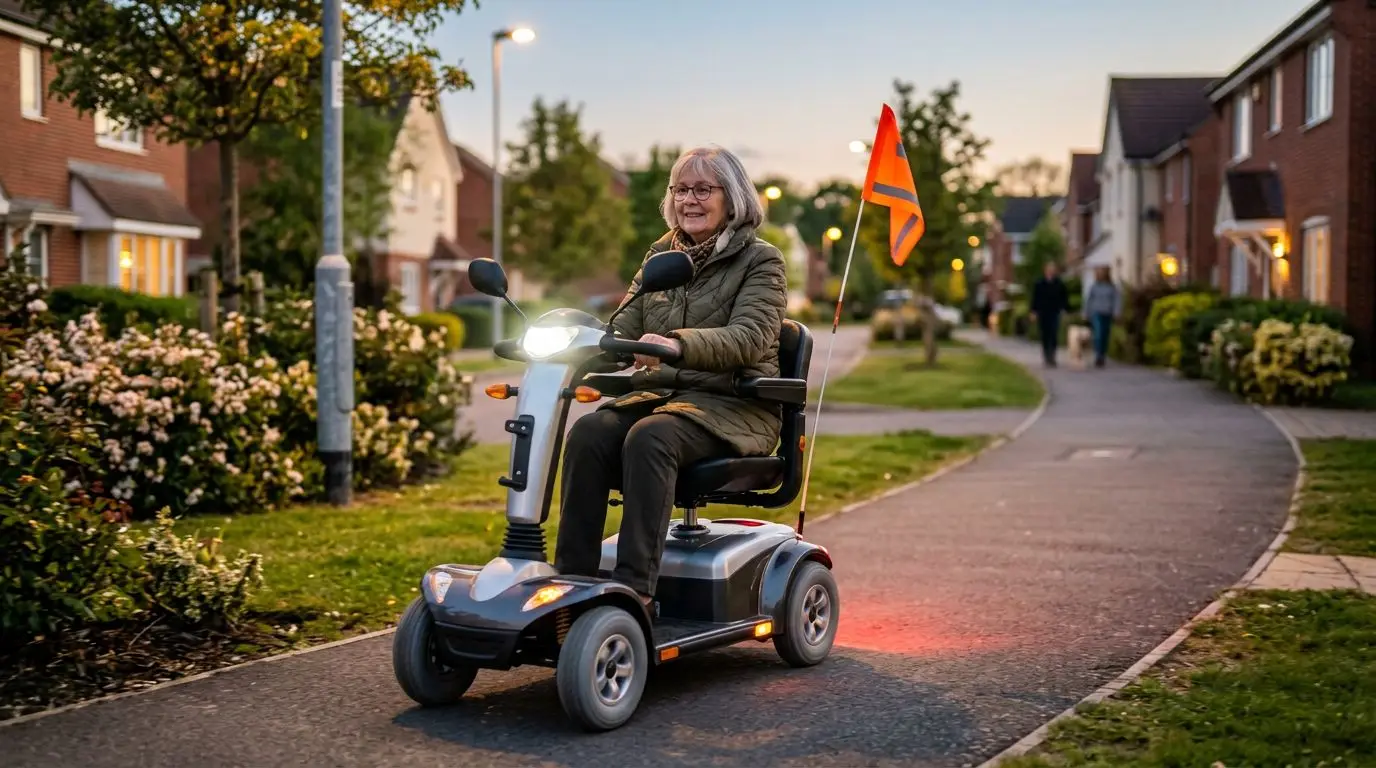
The best way to improve mobility scooter visibility is to combine active lighting, passive reflectors, rear-view awareness, and predictable riding habits. A white front light, red rear light, side reflectors, mirrors, and a tall safety flag can help drivers, pedestrians, cyclists, and other scooter users notice you sooner, especially at dusk, in parking lots, and near intersections.
Visibility is not only a night-riding concern. A scooter can be hard to see on shaded sidewalks, behind parked cars, inside store entrances, or in rain, so a layered setup is safer than relying on one accessory. The goal is simple: be seen from the front, rear, and both sides before anyone has to react quickly.
Why visibility matters at 3 to 5 mph and after dusk
Most mobility scooters travel at walking-to-jogging speeds, often around 3 to 5 mph in everyday use, but that does not automatically make them easy to spot. A low seating position, quiet electric motor, and compact frame can make a rider blend into the background. This is especially true in busy areas where drivers are scanning for cars and pedestrians are looking at phones.
Visibility also changes with the time of day. Around sunrise and sunset, contrast drops before it feels fully dark. A gray scooter, dark jacket, or black seat can disappear against asphalt, building shadows, or wet pavement. In a parking lot, a driver backing out may have only a few seconds to notice you.
For safety planning, think in 3 zones: close range, crossing range, and approach range. Close range is the 5 to 10 feet around your scooter, where pedestrians, shopping carts, doors, and curb edges create risk. Crossing range is the 20 to 50 feet where drivers, cyclists, and scooter users must decide who goes first. Approach range is farther away, where a bright light, reflective material, or flag gives others more time to adjust.
Visibility accessories cannot replace careful riding, and they do not make a scooter safe for every road or nighttime route. They do, however, make your presence clearer. That matters most when other people have limited time, poor sight lines, or glare in their eyes.
Lights: front white, rear red, and a 200-foot visibility goal
Lights are active visibility tools because they produce their own light. For most riders, the basic setup is a white front light and a red rear light. White tells others you are facing toward them; red tells them they are seeing your rear. This color pattern is widely recognized by drivers and cyclists, which helps reduce confusion.
A practical goal is to be noticeable from about 200 feet away in low light, where possible. That distance is not a guarantee of safety, but it gives others more time than a dim light that appears only at the last moment. If your usual routes include long driveways, parking lots, shared paths, or poorly lit sidewalks, distance matters.
Brightness is only one part of the decision. Beam angle matters too. A narrow beam may help you see a crack or curb cut ahead, but it may not make you visible from the side. A wider beam can help pedestrians and drivers notice you at crossings. Many riders benefit from one steady front light aimed slightly downward and one rear light placed where it is not blocked by a basket, cane holder, jacket, or seat back.
Use flashing lights carefully. A slow flash can attract attention, but a very bright or rapid strobe can be uncomfortable for pedestrians and distracting in shared indoor spaces. If you ride indoors, near medical buildings, or through apartment hallways, a steady light or lower setting is usually more courteous.
Battery checks are part of lighting safety. Rechargeable lights should be charged before evening trips, and replaceable batteries should be changed before they get weak. A light that worked last week may be dim tonight. If you ride after dark more than once a week, consider setting a weekly charging routine, such as every Sunday evening.
Reflectors and reflective tape: 360-degree coverage in 4 zones
Reflectors do not create light, but they bounce light back toward its source. That makes them useful when headlights, bicycle lights, flashlights, or storefront lighting hit your scooter. They are low-maintenance and still work if your powered lights fail.
A good reflective layout covers 4 zones: front, rear, left side, and right side. Front reflectors are commonly white or light-colored. Rear reflectors are commonly red. Side reflectors are often amber, yellow, white, or high-contrast reflective material. The exact color rules can vary by location, so check local requirements if you ride on public streets, shared paths, or after dark.
Placement matters. Reflective tape placed low on the scooter can help headlights pick up your outline, while higher reflective material on a seat back, basket, or jacket can be easier for drivers to notice. Try to create a recognizable shape rather than one tiny dot. For example, 2 strips on the rear basket and 2 strips on each side panel can show both direction and width.
Keep reflectors clean. Dust, road film, and rain spots can reduce their effect. Wiping them with a damp cloth once a week takes less than 2 minutes and can make a meaningful difference. Replace reflective tape if it peels, cracks, fades, or no longer shines brightly when hit with a flashlight.
Reflective accessories on the rider can help too. A reflective vest, sash, ankle band, or light-colored jacket may sit higher than the scooter frame and be easier to see over parked cars. This is especially useful for compact scooters with low profiles.
Mirrors, flags, and audible cues: awareness within 10 seconds
Visibility is not only about others seeing you. It is also about knowing what is around you. A mirror can help you check for a cyclist, jogger, vehicle in a parking lot, or another scooter approaching from behind without twisting your body. For riders with limited neck, shoulder, or trunk mobility, this can be a major practical benefit.
A simple habit is to scan the mirror every 10 seconds in active areas, and more often before changing direction. Mirrors are not a substitute for looking when you safely can, but they reduce surprises. They also help you notice whether a rear light is blocked by a coat, shopping bag, or oxygen equipment carrier.
Flags raise your visual profile. A safety flag mounted on a rear bracket, basket, or seat post can add 3 to 5 feet of height depending on the pole and scooter. That height can help drivers see you over shrubs, parked cars, or crowds. Flags are especially useful on low scooters, at campground roads, retirement communities, large parking lots, and shared paved paths.
Audible cues have a place as well. A bell, horn, or polite voice cue can alert pedestrians who do not see you, but sound should be used gently. A loud horn in a hallway or store aisle can startle people. Save stronger alerts for urgent situations, and use calm wording such as “passing on your left” on shared paths when it is safe to pass.
Mirrors and flags should be secure. Loose mounts can vibrate, tilt, or fall into wheels. After installation, check that the accessory does not interfere with steering, brake levers, armrests, folding parts, a lift platform, or getting on and off the scooter.
How to choose and measure: height, width, and mounting in inches
Before buying or installing visibility accessories, measure your scooter. A 10-minute measuring session can prevent blocked lights, loose clamps, awkward mirror angles, and accessories that get in the way during transport.
Start with handlebar diameter if you plan to mount a mirror or light on the tiller. Some scooter tillers have rounded tubing, while others have molded plastic panels with fewer clamping options. Measure the open mounting space in inches, not just the overall handlebar width. Leave room for your hand controls, throttle, basket bracket, and any medical or personal items you carry.
Next, measure rear mounting space. If you have a rear basket, cane holder, oxygen carrier, or seatback pouch, make sure a rear light remains visible from directly behind and from a slight angle. A rear light hidden behind a black bag is not doing its job.
Measure scooter width at its widest point, often the armrests or rear wheels. If your scooter is about 24 inches wide, side reflectors should help others understand that full width, not just the center body. Side tape on both left and right edges can reduce close passes in narrow spaces.
| Measurement | Why it matters | Practical tip |
|---|---|---|
| Handlebar or tiller space | Helps fit mirrors and front lights | Measure usable straight space in inches before choosing a clamp style |
| Rear visibility area | Keeps red lights and reflectors unobstructed | Check from 10 feet behind with bags and baskets loaded |
| Overall scooter width | Shows where side reflectors should go | Mark the left and right edges, not only the center panel |
| Seatback height | Affects flag and reflective vest visibility | Place tall items where they do not hit doorways or lifts |
| Storage and transport clearance | Prevents broken accessories | Fold or remove accessories before using a vehicle lift if needed |
After mounting, do a driveway or hallway test. Turn the handlebars fully left and right. Sit down and stand up. Load your usual bag. Fold or disassemble the scooter if you transport it. If any accessory catches, blocks controls, or makes transfers less stable, reposition it.
Who visibility accessories are best for: 5 common situations
Nearly every scooter user can benefit from better visibility, but the need is strongest in 5 everyday situations. The first is dusk or early morning riding. If you leave home before sunrise for appointments or return after dinner, lights and reflectors should be considered basic equipment.
The second situation is parking lots. Cars reverse, turn, and stop unpredictably, and drivers may be focused on open spaces rather than low-profile scooters. A rear light, flag, and reflective side material can help from multiple angles.
The third is shared paths and sidewalks. Cyclists, runners, dog walkers, children, and other scooter users may approach at different speeds. Mirrors and polite audible cues can reduce conflicts, especially when paths are 6 to 10 feet wide and passing space is limited.
The fourth is neighborhood travel. Driveway crossings, mailboxes, hedges, and parked vehicles can hide a scooter until the last few seconds. A taller flag and bright front light may help you stand out before you enter a crossing area.
The fifth is indoor-to-outdoor travel. Many riders move between apartment buildings, stores, medical offices, and outdoor walkways. Adjustable lighting helps here: bright enough outside, but not blinding inside. Reflectors continue working in both settings.
- Best for riders with low-profile scooters: flags, higher reflectors, and rider-worn reflective material.
- Best for riders with limited neck movement: properly adjusted mirrors on one or both sides.
- Best for frequent evening riders: front and rear lights with a charging routine.
- Best for shared-path users: side visibility, a bell, and predictable lane position.
- Best for parking lot travel: red rear light, flag, and reflective rear basket or seatback material.
Night riding tips: a 12-point pre-ride checklist
Night riding should be treated as a higher-risk activity, even for short trips. Darkness reduces depth perception, makes potholes harder to see, and increases the chance that drivers or pedestrians will misjudge your speed. If a route feels uncomfortable in daylight, it is usually not a good route after dark.
Use this 12-point checklist before riding at night or in low light:
- Turn on the white front light and confirm it points slightly downward.
- Turn on the red rear light and check that it is not blocked.
- Check side reflectors or reflective tape on both sides.
- Confirm the battery level on your scooter before leaving.
- Confirm the battery level on add-on lights if they are separate.
- Wear at least 1 visible reflective or light-colored item above the waist.
- Clean lights and reflectors if they look dusty or spotted.
- Set mirrors before moving, not while crossing a driveway.
- Choose the best-lit route, even if it adds 2 or 3 minutes.
- Avoid roads without sidewalks unless local rules allow it and conditions are safe.
- Slow down near doors, curb cuts, parked cars, and blind corners.
- Carry a phone or emergency contact information in an easy-to-reach place.
Weather changes the picture. Rain can scatter headlight glare and make reflective surfaces less predictable. Fog can make bright lights appear as a glow rather than a clear object. Wet leaves and painted surfaces can reduce traction. If you must ride in poor weather, slow down and give everyone more space.
Do not assume drivers understand how fast or slow a mobility scooter travels. Make your path obvious. Stop before entering a crosswalk or driveway apron if you are unsure you have been seen. Eye contact can help, but it is not perfect; windshield glare, tinted glass, or darkness can make it hard to know where a driver is looking.
Comparison table: 7 visibility accessories by type and use
The best visibility setup is usually a mix of several accessory types. One bright front light helps, but it does not solve rear or side visibility. A flag helps with height, but it does not light your path. The table below compares common visibility tools by purpose rather than by brand.
| Accessory type | Main purpose | Best use | Limitations |
|---|---|---|---|
| White front light | Helps others see your approach and helps you see obstacles | Dusk, night, shaded sidewalks, parking lots | Can glare if aimed too high |
| Red rear light | Shows your position from behind | Parking lots, shared paths, neighborhood travel | Can be blocked by bags or baskets |
| Side reflectors or tape | Improves visibility from left and right | Driveway crossings, intersections, path crossings | Needs outside light to work |
| Rear reflectors | Passive backup if rear light fails | Evening travel and storage areas | Less noticeable without headlights or flashlights |
| Mirrors | Improves rider awareness behind and beside the scooter | Shared paths, sidewalks, riders with limited turning | Requires adjustment and regular scanning |
| Safety flag | Adds height and motion for easier spotting | Low scooters, parking lots, crossings, community roads | May need removal for transport or tight storage |
| Bell or horn | Alerts people who do not see you | Passing on paths, blind corners, urgent warnings | Can startle people if overused |
If you want a simple starting point, prioritize front light, rear light, rear reflector, side reflectors, and at least 1 mirror. Add a flag if you often ride where vehicles, bicycles, or pedestrians may not expect a low-moving scooter.
Feature comparison: steady, flashing, rechargeable, and clip-on options
Two lights can look similar but behave very differently in daily use. A light that is easy to charge and mount securely is usually better than a brighter light you forget to use. Think about your hands, eyesight, storage routine, and where you ride most often.
| Feature | Advantage | Watch for |
|---|---|---|
| Steady beam | Easy for others to track your position | May use more battery than some flashing modes |
| Slow flashing mode | Can attract attention in traffic-like settings | May be annoying indoors or on crowded paths |
| Rechargeable battery | No disposable batteries to replace often | Requires a charging habit and accessible cable |
| Replaceable batteries | Easy to carry spares | Small covers can be hard for some hands |
| Tool-free mounting | Simple to remove for charging or theft prevention | Must still grip firmly over bumps |
| Fixed mounting | Less likely to shift or fall off | Harder to remove for transport or charging |
Riders with arthritis, reduced grip strength, or low vision should pay special attention to switches and charging ports. Tiny buttons can be frustrating. A larger switch, clear on/off indicator, and easy-to-see charge light may make the accessory more likely to be used every time.
Safe positioning around pedestrians, cyclists, and drivers within 50 feet
Accessories work best when paired with predictable movement. Within about 50 feet of other people, ride so your next action is easy to understand. Hold a steady line, slow before turning, and avoid weaving around obstacles at the last second.
On sidewalks, give pedestrians priority and slow to walking speed in crowded areas. A mobility scooter is a mobility aid, but it is still a moving vehicle-like device with weight and momentum. A gentle verbal cue is often better than a horn when passing someone from behind.
On shared paths, stay to the right where that is the local custom, pass only when there is enough room, and use a mirror before moving left. If a cyclist approaches quickly, keep your line rather than making a sudden correction. Predictability gives the cyclist a safer passing decision.
Near drivers, assume you may not be seen until you have clear evidence. Stop before crossing driveways if a vehicle is moving. Be cautious around right-turning vehicles at intersections. A front light and flag help, but they do not override the need to wait for a safe gap.
Local laws vary widely. Some areas restrict where mobility scooters may travel, especially on roads, bike lanes, or after dark. If you are unsure, contact your local transportation office, police non-emergency line, senior center, or mobility clinic for guidance on routes and rules.
FAQ: 5 visibility questions scooter riders ask
Do I need lights on a mobility scooter during the day?
Daytime lights are useful in shade, rain, parking lots, and areas with heavy foot or vehicle traffic. They are especially helpful when your scooter, clothing, or surroundings are similar in color.
Is a safety flag worth using on a mobility scooter?
A safety flag is worth considering if your scooter sits low, you ride near parked cars, or you cross driveways and parking lots. The added height can make you easier to notice from farther away.
Are flashing lights better than steady lights?
Not always. A slow flashing light may draw attention outdoors, but a steady light is often easier for others to judge and less bothersome indoors. Many riders use steady mode in crowded areas and reserve flashing mode for higher-visibility outdoor situations.
Where should reflectors go on a mobility scooter?
Use reflectors or reflective tape on the front, rear, and both sides. Rear and side placement is especially important because many close calls happen when a driver, cyclist, or pedestrian approaches from an angle.
Can I ride my mobility scooter on the road at night?
That depends on local rules and conditions. Many roads are not safe for scooters at night, even with lights. Use sidewalks, paved paths, or well-lit approved routes when available, and check local regulations before riding in the roadway.
Frequently asked questions
Do I need lights on a mobility scooter during the day? +
Daytime lights can help in shade, rain, parking lots, and busy sidewalks. They are especially useful when your scooter or clothing blends into the surroundings.
Is a safety flag worth using on a mobility scooter? +
Yes, for many riders. A flag adds height and can make a low-profile scooter easier to see near parked cars, driveways, crossings, and shared paths.
Are flashing lights better than steady lights? +
Not always. Slow flashing lights can attract attention outdoors, while steady lights are often easier for others to track and less distracting indoors or in crowds.
Where should reflectors go on a mobility scooter? +
Place reflectors or reflective tape on the front, rear, left side, and right side. Side and rear visibility are important because many hazards approach from angles.
Can I ride my mobility scooter on the road at night? +
It depends on local law and road conditions. Many roads are unsafe for scooters at night, so use sidewalks, paved paths, or well-lit approved routes when possible.
Related guides
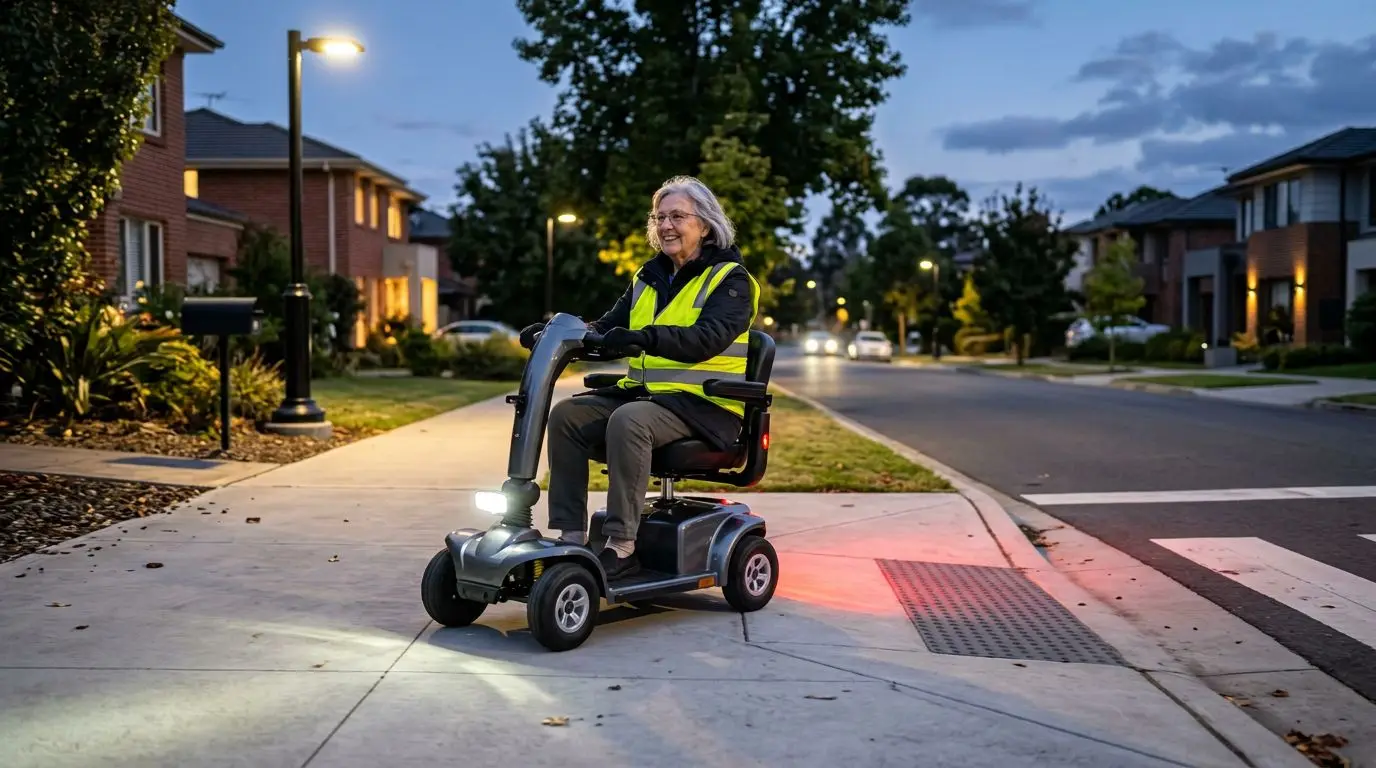
Nighttime Mobility Scooter Safety: Lights, Reflectors, Visibility, and Route Planning
14 min read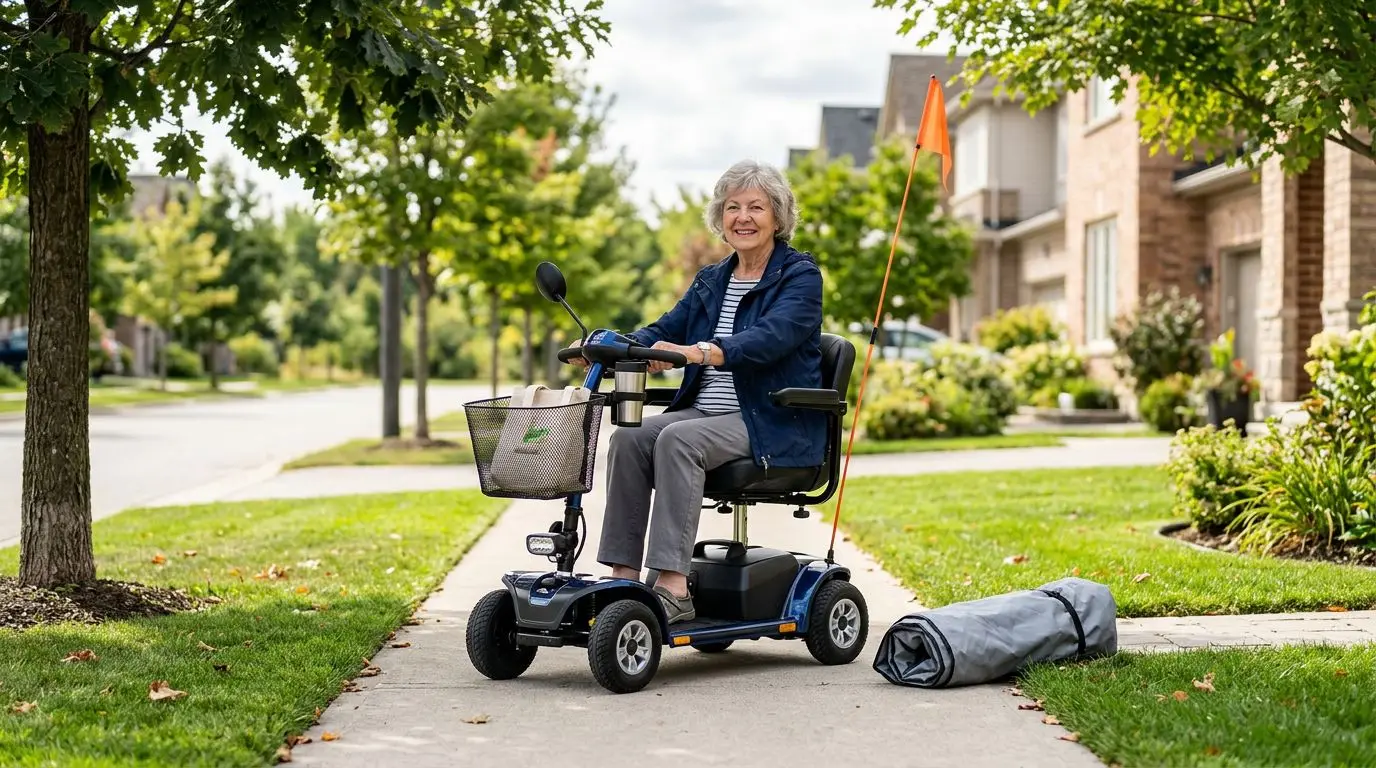
Best Mobility Scooter Accessories for Safety, Storage, and Everyday Comfort
13 min read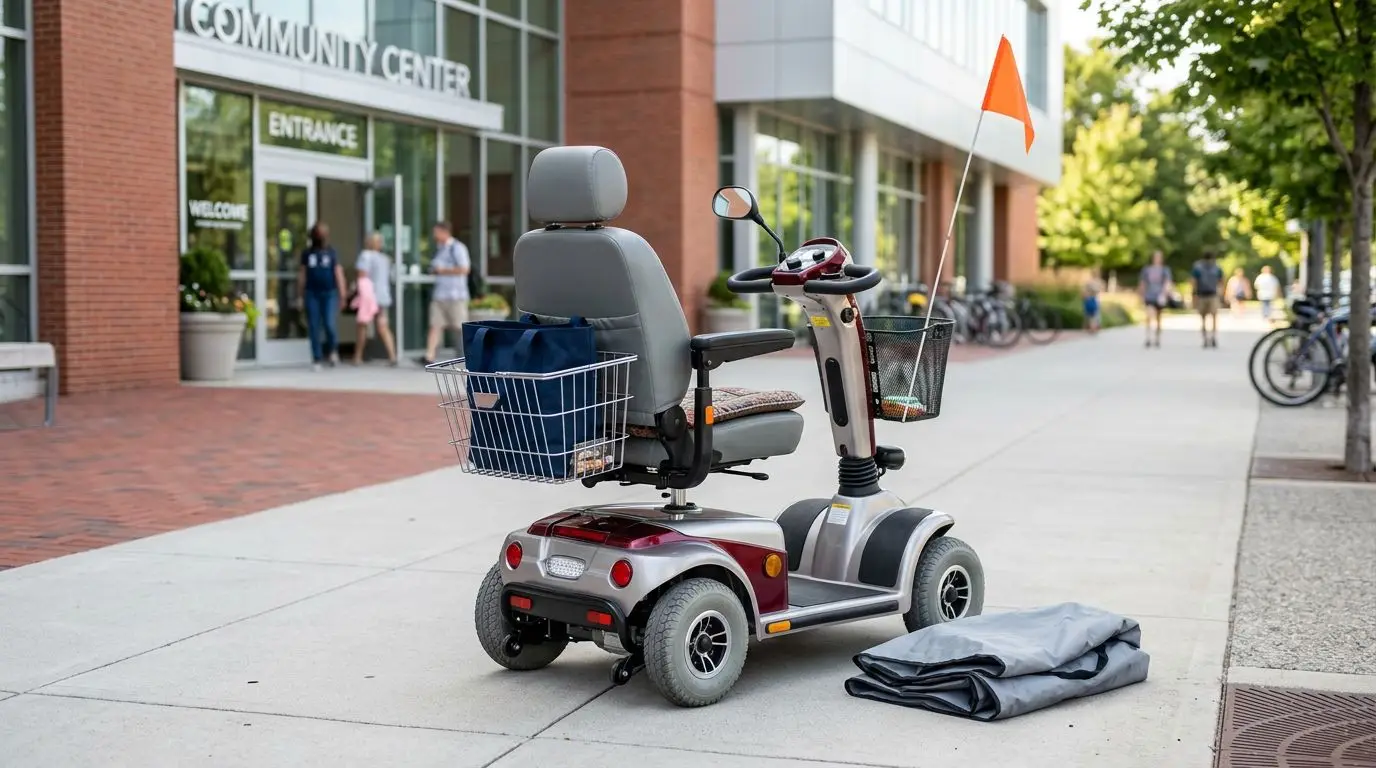
Best Mobility Scooter Accessories for Daily Use: Storage, Safety, Comfort, and Weather Protection
14 min read