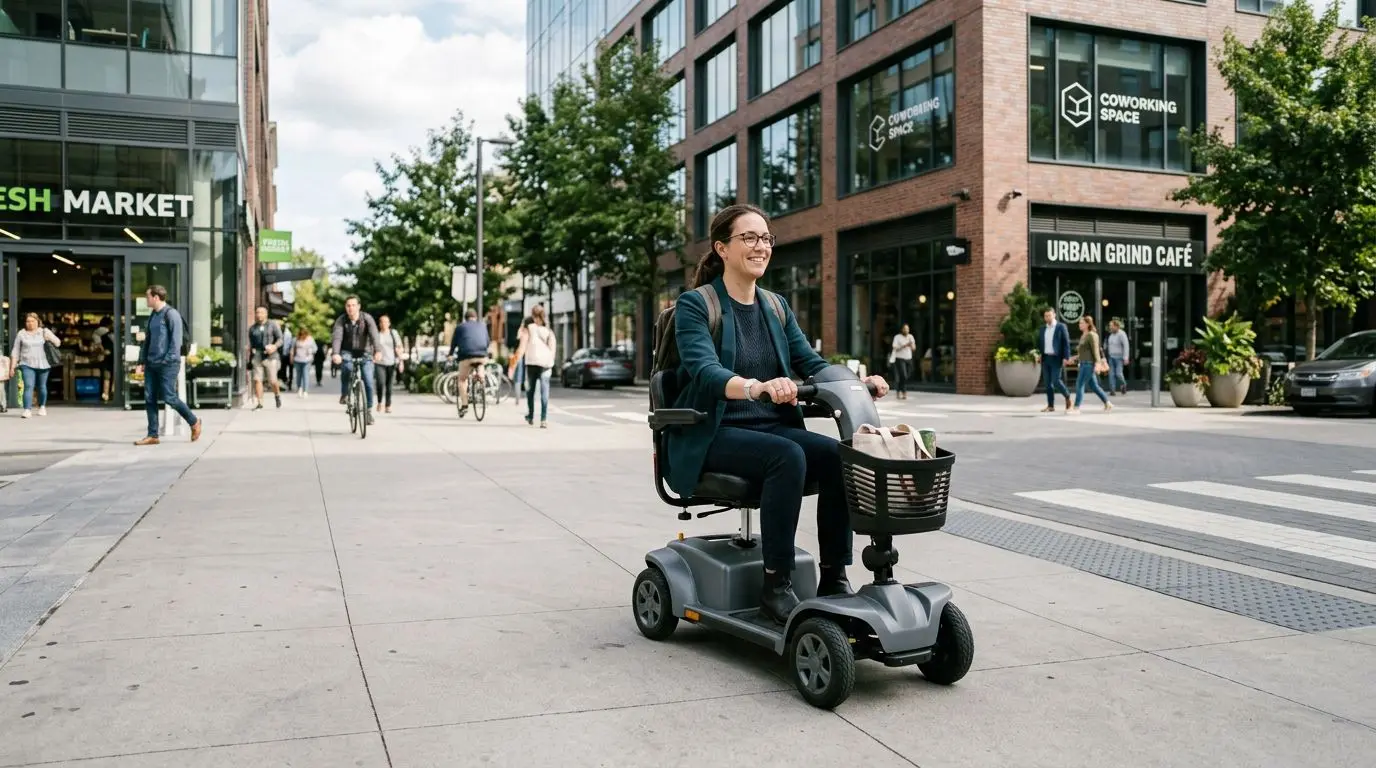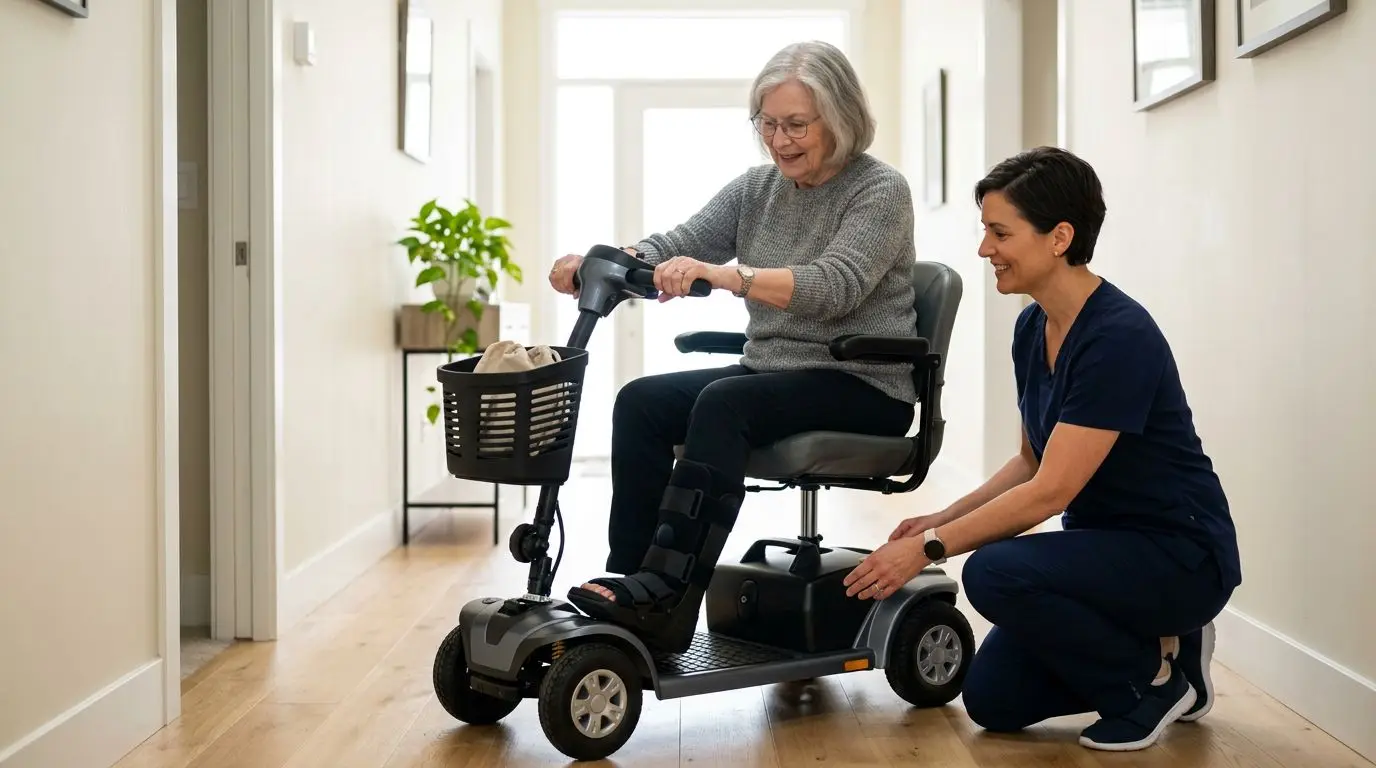
A mobility scooter can help after a foot, ankle, or leg injury if you can sit upright, transfer safely, and use the controls without increasing pain or raising your fall risk. It is not the right choice for every injury, especially if you have weight-bearing restrictions, poor balance, dizziness, or a cast or brace that changes how you sit.
Before you ride, ask a clinician whether a scooter fits your specific injury and recovery plan. This guide focuses on non-medical safety considerations: balance, transfers, pain limits, home setup, and practical ways to judge whether scooter use is manageable.
First, ask a clinician these 6 questions
A mobility scooter changes how you move through the day, but it does not eliminate the physical demands of getting on, getting off, sitting, turning, and reacting to obstacles. After a lower-limb injury, those demands matter. A clinician who knows your injury can help you decide whether scooter use fits your weight-bearing status, brace or cast, balance, medications, and overall fall risk.
Treat the scooter conversation as a practical safety check, not just a yes-or-no question. Bring details: where you plan to ride, how far you need to go, whether your home has steps, and whether you will be alone. If possible, describe the scooter type, approximate seat height, and whether you will use it indoors, outdoors, or both.
- Am I allowed to put any weight on the injured foot, ankle, or leg during transfers?
- Can I safely bend my knee, hip, or ankle enough to sit on a scooter seat for 15 to 30 minutes?
- Does my cast, boot, brace, or dressing need extra space or elevation while seated?
- Do any medications increase drowsiness, dizziness, or slowed reaction time?
- What pain or swelling changes should make me stop using the scooter and call the office?
- Should I practice transfers with a physical therapist, occupational therapist, or caregiver before riding alone?
Be especially cautious if your instructions include non-weight-bearing status. A scooter may still be possible for some people, but transfers become the main challenge because you may need to keep the injured side off the floor while moving from a chair, bed, or car seat. That is a skill issue, not just an equipment issue.
Who it is best for after 1 lower-limb injury
A mobility scooter is usually most practical for someone with one injured foot, ankle, or leg who has enough trunk control, arm function, vision, and judgment to sit and drive safely. It may help conserve energy when walking is limited, but you still need safe transfers and enough balance to stay stable while the scooter starts, stops, and turns.
It may be a poor fit if both legs are affected, if you cannot sit upright for at least several minutes, or if you feel lightheaded when changing positions. A scooter can also be difficult if your injured leg must remain elevated all day, because many scooters are not designed for full leg elevation while driving. Depending on clinician guidance and home layout, some people do better with a wheelchair, walker, crutches, knee walker, or caregiver assistance.
| Situation | Scooter may be helpful when... | Use extra caution when... |
|---|---|---|
| Foot or ankle injury | You can transfer without stepping hard on the injured side. | A boot or cast hits the tiller, floorboard, or seat post. |
| Lower-leg injury | You can sit with the knee comfortably bent or supported. | Swelling worsens after 10 to 15 minutes of sitting. |
| Post-procedure recovery | Your clinician approves seated mobility and transfer technique. | You are taking medications that cause sleepiness or dizziness. |
| Temporary limited walking | You need short indoor trips such as bedroom to kitchen. | Your home has narrow halls, clutter, or steps at main entrances. |
Think of the scooter as one part of a mobility plan. It may solve distance, but it does not solve every doorway, bathroom transfer, kitchen task, or emergency situation.
Compare 3 scooter types for injury recovery
Most people considering a scooter after an injury are choosing among 3 broad categories: compact travel scooters, standard indoor-outdoor scooters, and heavy-duty or all-terrain style scooters. The right category depends on your transfer ability, available space, surfaces, and whether the scooter must be transported in a vehicle.
For temporary injury use, smaller is often easier indoors, but too small can feel cramped if you have a boot, cast, or limited knee bend. Larger scooters may feel more stable outdoors, yet they need more turning room and can be harder to load, store, or maneuver through tight halls.
| Type | Typical strengths | Possible injury-related concerns |
|---|---|---|
| Compact travel scooter | Often lighter, easier to store, and better for short indoor trips. | Smaller floorboards may not fit a boot or brace comfortably. |
| Standard indoor-outdoor scooter | More seat and foot space, useful for home plus sidewalks. | Needs more room to turn, especially in hallways and bathrooms. |
| Heavy-duty or all-terrain style | Higher weight capacity, larger tires, and more outdoor stability. | Bulkier, heavier, and often impractical in small homes or cars. |
Three-wheel scooters often have a tighter turning radius, which can help indoors. Four-wheel scooters generally feel more planted on uneven outdoor surfaces. That does not mean one is always safer than the other. Stability depends on speed, rider position, surface, turning habits, and scooter design.
How to measure fit and turning space in 10 minutes
Before using a scooter at home, measure the areas where you expect to ride. This quick 10-minute check can prevent frustrating or unsafe situations, especially while you are healing and cannot easily back up, stand, or reposition yourself.
Start with doorways. Many interior doorways are around 28 to 32 inches wide, but older homes, bathroom doors, and tight bedroom entries can be narrower. Measure the clear opening with the door fully open, not just the frame width. Also measure hallway width and the space needed to turn into key rooms.
- Measure the scooter’s overall width, then compare it with your narrowest doorway.
- Check whether your injured leg, boot, or cast extends beyond the scooter’s normal footprint.
- Look for at least a few inches of clearance on each side when passing through a doorway.
- Measure the distance from your bed, recliner, or sofa to the nearest wall or furniture.
- Confirm you can park close enough for transfers without blocking a caregiver.
Seat fit matters too. Sit with your hips back, shoulders relaxed, and both hands able to reach the controls. If your knee is forced into a painful bend or your foot cannot rest safely on the floorboard, the scooter may not be a good match during this stage of healing.
Pay attention to tiller clearance. A front tiller that is too close can bump a boot or cast during turns. If you must twist your trunk sharply to steer, or if your injured side dangles unsupported, stop and reassess.
Safe transfers: 3 steps before the scooter moves
For many injured riders, the highest-risk moment is not driving. It is transferring. Moving from a bed, chair, toilet, car seat, or porch bench to a scooter requires balance, timing, and a stable setup. A safe transfer should feel controlled before the scooter ever turns on.
Use a simple 3-step routine: position, stabilize, transfer. First, position the scooter close to the surface you are leaving, usually at a slight angle rather than straight on. Second, stabilize it by turning the power off, setting the brake if applicable, and making sure the seat is locked. Third, transfer slowly while following the weight-bearing instructions approved by your clinician.
- Do not step onto the scooter floorboard as if it were a stool.
- Do not pull on the tiller for body support; it is for steering, not lifting.
- Keep loose clothing, blankets, bags, and straps away from wheels.
- If the seat swivels, confirm it locks before sitting fully.
- Use a caregiver or transfer aid if your clinician recommends one.
If you cannot complete the same transfer twice in a row without rushing, wobbling, or grabbing unstable furniture, do not ride alone yet. Practice with supervision and ask for professional transfer training. A scooter should not turn a difficult transfer into a gamble.
Balance, braking, and steering checks at 0 mph
Before riding, do a no-speed safety check while seated. At 0 mph, you can learn a lot: whether you can sit centered, reach the controls, turn your head, and react without shifting weight suddenly. This is especially important when one leg is painful, braced, or unable to help stabilize your body.
Sit all the way back in the seat. Keep your hips centered and shoulders level. Your injured leg should be placed according to clinician guidance and should not press painfully against the tiller, basket area, or side of the scooter. If you need a cushion or positioning support, ask a qualified professional what is appropriate; improvised padding can slide or change your posture.
Next, test your hands. Can you operate the throttle or wig-wag control smoothly? Can you release it quickly? Can you turn the speed dial down without looking away for long? If your hands are occupied holding a crutch, phone, drink, or bag, you are not ready to drive. Both attention and control matter.
When you begin moving, use the lowest speed setting available. Practice in an open area first, not in a hallway next to furniture. Try starting, stopping, making a wide turn, and backing up. If stopping causes your injured leg to jolt or your body to slide forward, adjust your posture and speed or stop using the scooter until you get guidance.
Pain, swelling, and fatigue: use a 0 to 10 check
A scooter should not be used to push past warning signs. Pain, swelling, numbness, tingling, and fatigue can change your balance and reaction time. A simple 0 to 10 pain check can help you notice patterns, but it is not a substitute for medical advice.
Before riding, rate your pain at rest from 0 to 10, where 0 is no pain and 10 is the worst pain you can imagine. Check again after transferring and after riding for 10 to 15 minutes. If pain rises sharply, your injured area throbs, your toes change color, or swelling increases noticeably, stop and follow the instructions from your clinician.
Fatigue deserves the same attention. After an injury, simple tasks can take more effort because you are protecting one side, using your arms more, or moving more slowly. If you feel shaky after a transfer, delay the ride. If you become tired while away from your resting place, you still need enough energy to park, transfer, and elevate or rest as directed.
- Plan short first trips, such as 5 minutes indoors.
- Avoid crowded places until steering feels automatic.
- Keep your phone within reach, not buried in a bag.
- Stop before pain or fatigue makes decisions for you.
Do not drive a scooter if you feel faint, confused, overly sleepy, or unable to focus. Those are safety issues regardless of the injury.
Home and outdoor hazards: 1-inch thresholds matter
Small obstacles become bigger problems when you are injured. A 1-inch threshold, loose rug edge, driveway lip, or uneven sidewalk joint can jolt the scooter and your injured limb. The safer approach is to inspect your route before relying on it.
At home, remove loose throw rugs, cords, clutter, pet toys, and low footstools from travel paths. Make sure lighting is good from bedroom to bathroom, especially at night. If the scooter will be used near a bed or recliner, leave enough space to park without blocking the transfer path.
Outdoor use adds more variables: curb cuts, gravel, wet leaves, grass, cracked pavement, slopes, and traffic. Mobility scooters are not meant to be used like bicycles or cars. Use sidewalks and accessible routes where permitted, stay visible, and avoid steep or uneven areas that make the scooter tilt or lose traction.
| Hazard | Why it matters after an injury | Safer approach |
|---|---|---|
| Thresholds and lips | Can jolt the injured leg or stop small wheels abruptly. | Use a suitable ramp or choose a flatter route. |
| Loose rugs | Can bunch under wheels and affect steering. | Remove or secure them before riding. |
| Wet surfaces | Can reduce traction and increase stopping distance. | Slow down, avoid sharp turns, or wait. |
| Slopes | Can shift body weight and strain balance. | Use only gentle, approved ramps and go slowly. |
| Crowds | Require quick reactions and tight steering. | Practice first in quiet, open areas. |
If your route includes stairs, the scooter will not solve that barrier by itself. You may need a ramp, alternate entrance, temporary room setup on one level, or help from another person. Do not attempt to bump a scooter up or down steps while seated.
Features to compare before temporary use for 2 to 12 weeks
Many lower-limb injuries limit mobility for several weeks, though the timeline varies widely. If you are considering a scooter for a short recovery period, focus on practical features rather than extras. The best feature is the one that reduces a real barrier in your home or routine.
| Feature | Why it matters | What to check |
|---|---|---|
| Seat height | Affects how hard transfers feel. | Your hips should not drop far below your knees unless approved and comfortable. |
| Swivel seat | May reduce twisting during transfers. | It must lock securely before you sit or drive. |
| Adjustable tiller | Creates room for a boot, cast, or brace. | You should reach controls without leaning forward. |
| Low speed control | Helps with indoor practice and tight turns. | Choose a setting slow enough for doorways and furniture. |
| Floorboard space | Determines whether the injured side fits safely. | Your foot or brace should not hang near wheels. |
| Weight capacity | Safety ratings include rider and carried items. | Stay within the stated limit; do not guess. |
| Transportability | Matters for appointments or family visits. | Confirm who can lift parts and where they fit. |
Also think about storage and charging. A scooter parked across a narrow hallway can create a tripping hazard for others. Charge it according to the manufacturer’s instructions, with the cord placed where it will not cross a walking path.
If you are borrowing or renting a scooter, inspect it before use. Check that the seat locks, tires are in good condition, controls respond smoothly, brakes engage as designed, and the battery has enough charge for the planned trip. If anything feels loose, delayed, or unpredictable, do not ride it until it is serviced or replaced.
When to stop riding and get help within 1 trip
Stop using the scooter during a trip if you feel unsafe, unusually painful, dizzy, drowsy, or unable to control speed and direction. Pull over to a safe, level place if you can do so without rushing. Turn the scooter off before trying to reposition your body or injured leg.
Ask for help if you cannot transfer back safely, if the scooter becomes stuck, or if your route is blocked by a curb, step, or tight space. It is better to call someone than to force a maneuver while injured. Keep a phone, emergency contact, and any needed instructions within reach every time you ride.
Contact your clinician according to their guidance if pain, swelling, numbness, discoloration, drainage, fever, or other concerning symptoms appear. This article cannot tell you whether those signs are urgent for your condition. Your medical team’s instructions should always take priority.
FAQ: 5 questions about scooters after a foot, ankle, or leg injury
Can I use a mobility scooter if I am non-weight-bearing?
Possibly, but only if your clinician says it is appropriate and you can transfer without putting weight on the injured side. The transfer is usually the hardest part. Ask whether you should practice with a therapist or caregiver before using a scooter alone.
Is a mobility scooter safer than crutches after an ankle injury?
Not always. A scooter may reduce walking distance, but it introduces transfer, steering, and space challenges. Crutches, walkers, knee walkers, wheelchairs, and scooters each have different risks. The safer option depends on your injury, strength, balance, home layout, and medical instructions.
Can I rest my cast or boot on the scooter floorboard?
Only if it fits without pain, pressure, or contact with moving parts, and it matches your clinician’s positioning instructions. Your foot, boot, or brace should not hang near wheels or interfere with steering.
Should I drive a scooter outdoors while recovering?
Start indoors or in a quiet, level area first. Outdoor surfaces add curbs, slopes, cracks, wet pavement, and crowds. If you cannot start, stop, turn, and transfer safely in a controlled space, outdoor use is premature.
What should I do if riding increases pain or swelling?
Stop riding, rest as instructed by your clinician, and monitor your symptoms. If pain or swelling changes are significant, persistent, or listed in your discharge instructions as concerning, contact your medical provider.
Frequently asked questions
Can I use a mobility scooter if I am non-weight-bearing? +
Possibly, but only if your clinician says it is appropriate and you can transfer without putting weight on the injured side. Ask whether you should practice with a therapist or caregiver before riding alone.
Is a mobility scooter safer than crutches after an ankle injury? +
Not automatically. A scooter may reduce walking distance, but it adds transfer, steering, and space challenges. The safer choice depends on your injury, balance, strength, home layout, and medical instructions.
Can I rest my cast or boot on the scooter floorboard? +
Only if it fits without pain, pressure, or contact with moving parts, and if that position matches your clinician’s instructions. Your boot or brace should not hang near wheels or interfere with steering.
Should I drive a scooter outdoors while recovering? +
Practice indoors or in a quiet, level area first. Outdoor surfaces add curbs, slopes, cracks, wet pavement, and crowds, so do not go outside until starting, stopping, turning, and transferring feel controlled.
What should I do if riding increases pain or swelling? +
Stop riding and follow your clinician’s recovery instructions. If pain, swelling, numbness, discoloration, or other concerning symptoms are significant or persistent, contact your medical provider.
Related guides
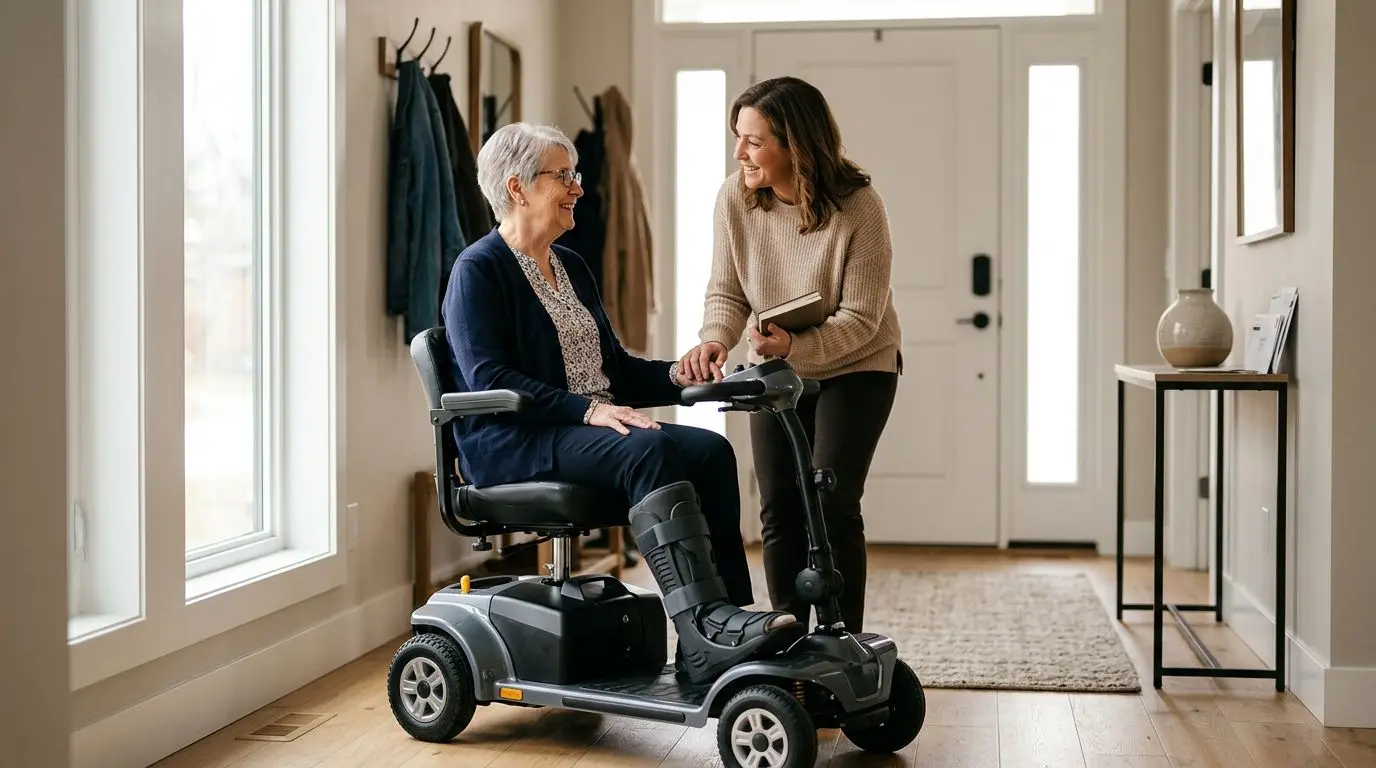
Mobility Scooters for a Broken Foot or Surgery Recovery: When a Powered Scooter Makes Sense
12 min read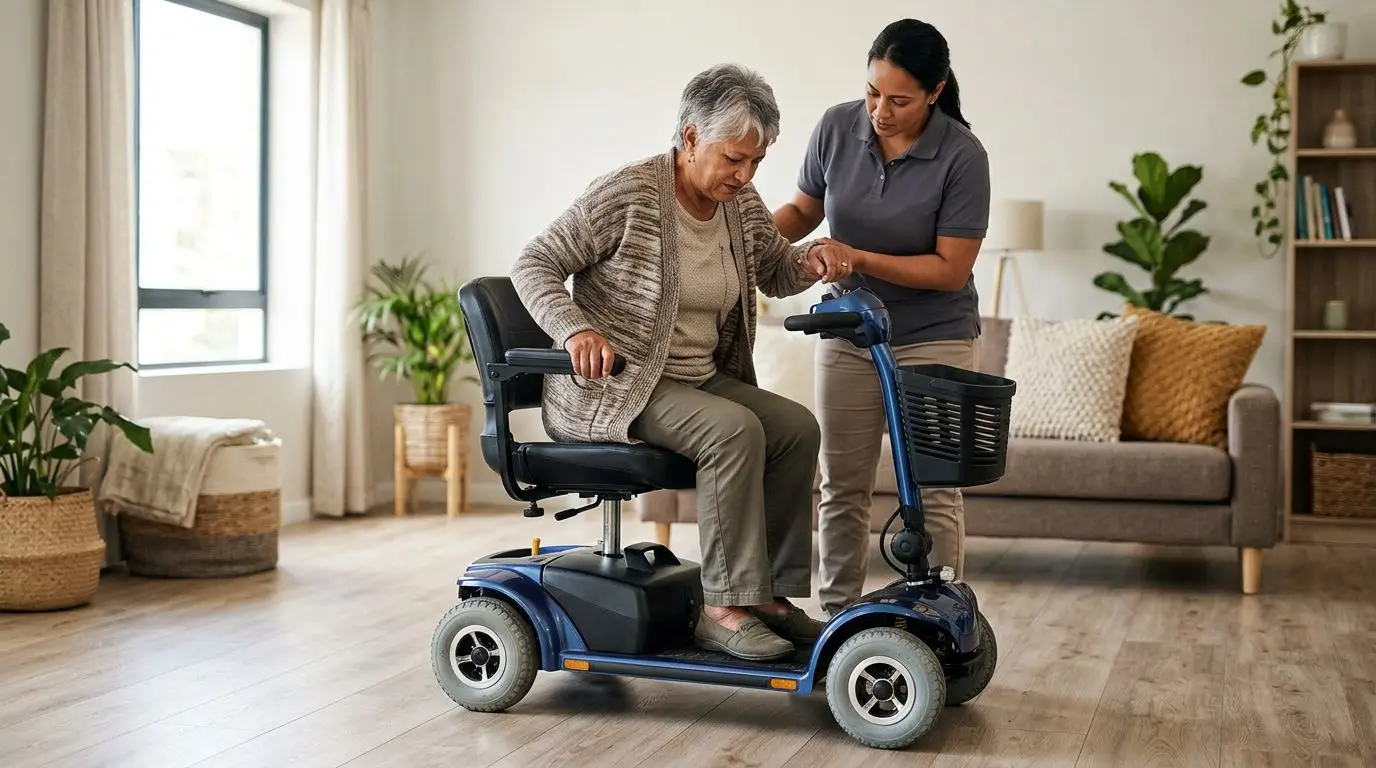
Mobility Scooter Transfer Safety: How to Sit, Stand, Turn, and Avoid Falls
12 min read
Mobility Scooter Safety Guide for Seniors: How to Ride, Turn, Stop, and Park With Confidence
15 min read